Blaze through drawings with the “left-hand controller”! Perorin Sensei gives drawing a go!

Article, photography: Takafumi Sekiguchi
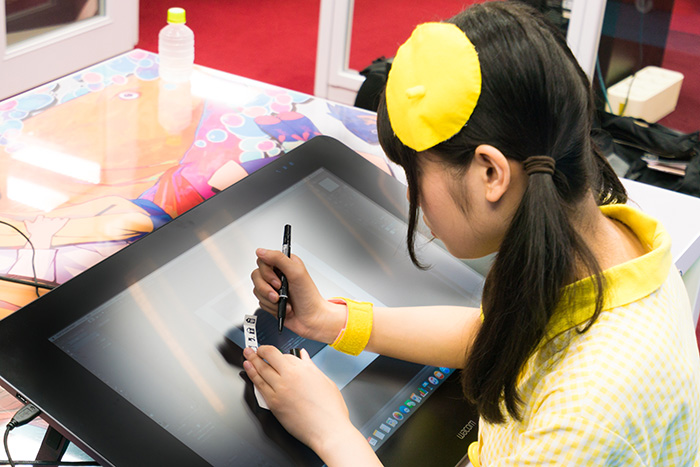
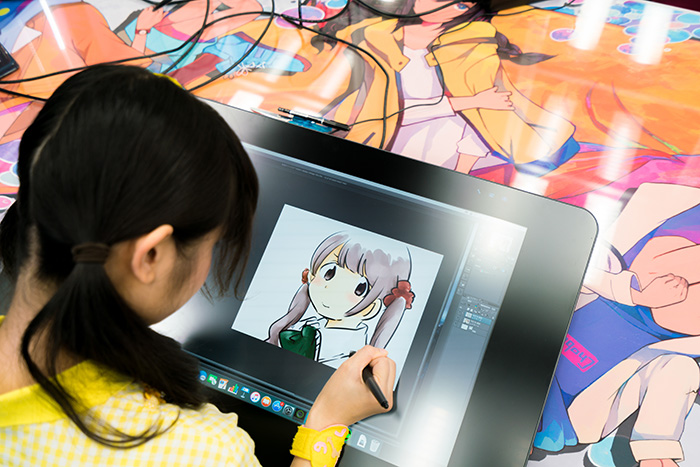
Part 2: Perorin Sensei attempts the actual drawing using the controller
This series began with us asking Perorin Sensei (a.k.a. Rin Kaname), an idol gaining popularity as an illustrator creating relatable situations for otaku, to try using a device that lets you finish drawings much quicker.
We also asked Yuichi Murakami, who was also featured on DESKWATCH some time ago, to play the role of the tutor and teach Perorin Sensei everything about the left-hand controller, and how to use it for illustrations.
Last time, Murakami gave Perorin Sensei a lesson on configuring the controller’s settings, teaching her about the keys and the various features of the controller.
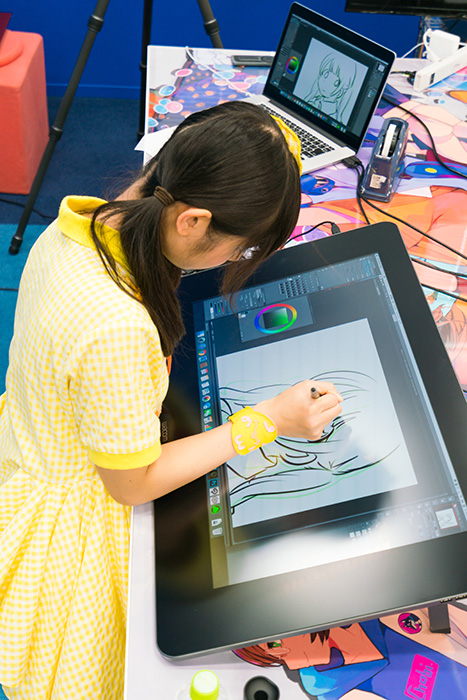
In this installment, we get to the actual drawing using the left-hand controller, in what will be a free drawing session. What’ll Perorin Sensei draw for us? Let’s get to it!
Start with only a few keys so you can get used to using the controller
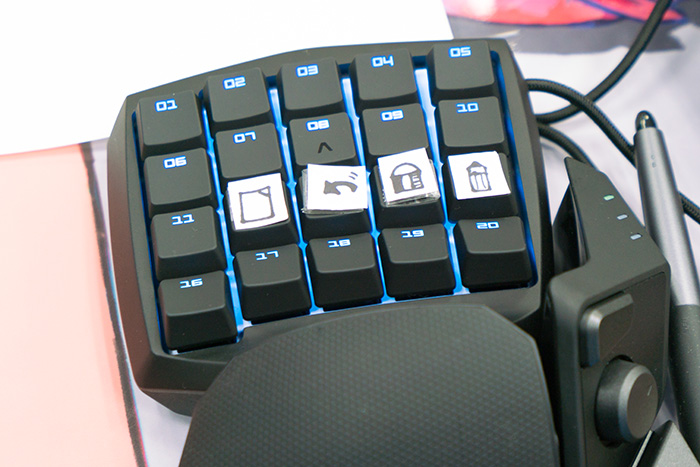
Last time, we received a lesson from Murakami on customizing the controller to make it easy to use. And we say customizing, but it was as simple as sticking handmade icons onto the keys so we would know which function was assigned to them. Anyone could do it, right?
Customizing as you go is the first step in improving


But before that, after seeing how we drew Mr. Pixiv from last time, it might be a good idea to add some functions first.
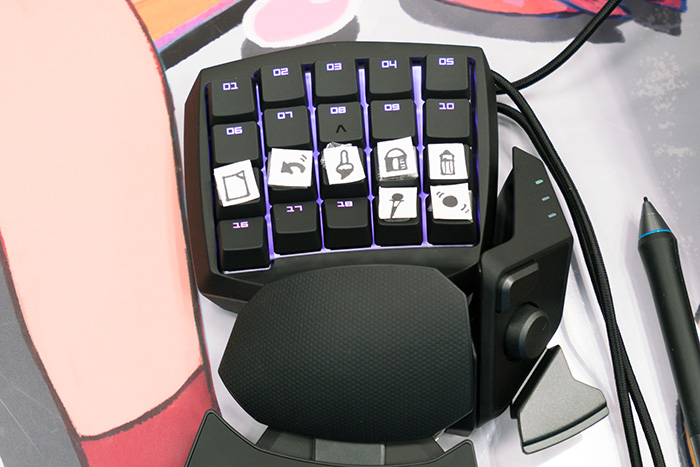
From the left, top: add layer, scroll canvas, pen tool, eraser tool, pencil tool. Bottom: eyedropper tool, change brush size.
Now, how will Perorin Sensei use the functions?
Add and change the keys through trial-and-error!

The eyedropper tool?
Thank you. Is it also possible to have layers be switchable?
It’s important to tweak the controller to keys and functions to those you can use
According to Murakami, though it’s recommended to use the functions given above, as we saw, it was helpful to add functions as needed as the drawing went on. Since everyone has a different comfort level with how many functions they can remember, it’s useful to add functions on an individual basis in order to master use of the controller.
As well, just like Perorin Sensei did, you can easily change the mapping to fit your own use for maximum comfort. After all, ease of use is the whole point of using a separate controller.

Razer Orbweaver Chroma
CLIP STUDIO PAINT

- Rin Kaname (Perorin Sensei)
- <ul><li>
Member of Beboga! (Niji no Conquistador Yellow group). On January 9th she will perform her first solo live at Kawasaki Club Citta, "Bebogaga! ~Episode 2~".
</li><li>Under the name of Perorin Sensei she published "Bocchi Idol Maimai.", a series of four-frame comic strips, on Gekkan Entame (Tokuma Shoten).
</li></ul>


Left-hand controller usage summary
■Start by mapping out the basic functions
■Begin drawing using the function keys
■Remap keys as necessary for ease of use
■Add functions to empty keys as you get comfortable with the initial mapping