A Tablet that feels like using pen and paper? Hands-on with Wacom’s newest product! Interview with Hiyori Asahikawa + Drawing Video

Author, Interviewer: Youhei Ogawa
Photography: Takafumi Sekiguchi
Her clients include publishers, game companies and even local municipalities. Her having decided to become an illustrator during third year of middle school, and now being an accomplished artist in the industry, we asked her about her beginnings as well as her future plans.
The first half of the article shows the making of one of Asahikawa’s drawings using her preferred software, PaintTool SAI. The latter will be an interview, in which we hear what drawing means to her and what she would like to do in the future. You can also watch the process of Asahikawa creating an illustration using the new Wacom MobileStudio Pro 16 tablet! (video below)
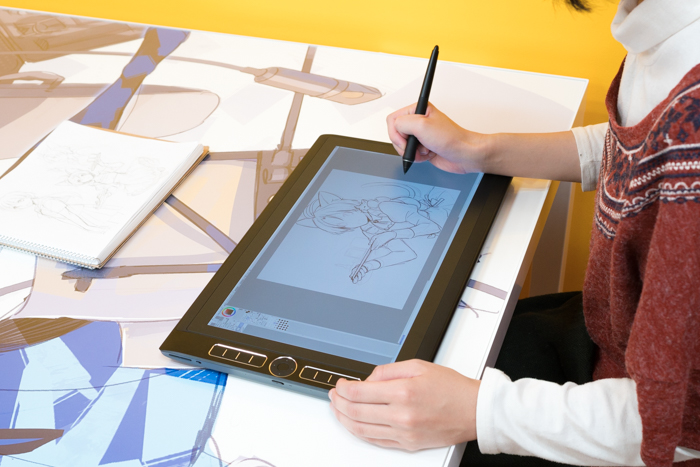
Hiyori Asahikawa, drawing using PaintTool SAI!
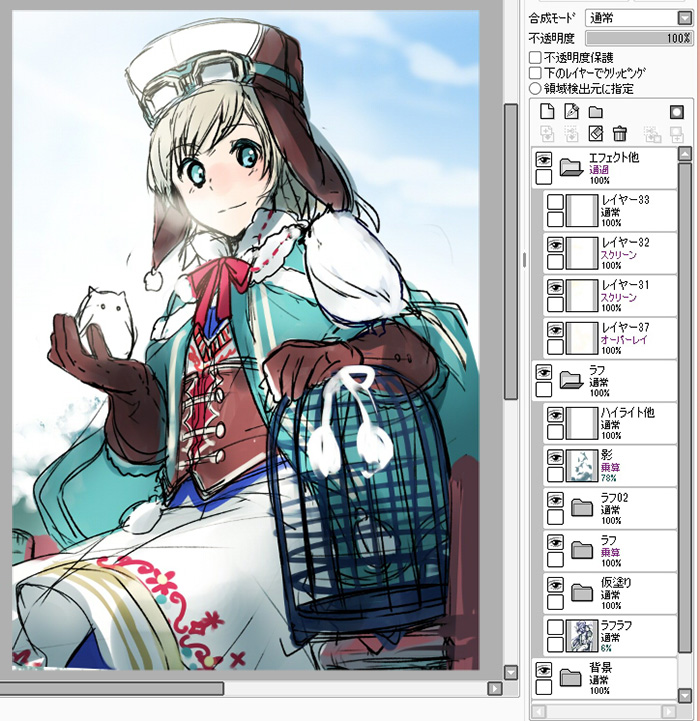
Rough
Since a bird is the zodiac animal for 2017, Asahikawa decided to make “an owl-tamer girl” the theme for the drawing. Wanting to accent the winter-y theme, she also added an owl-shaped snowman, hoping to show a friendly atmosphere between them all.
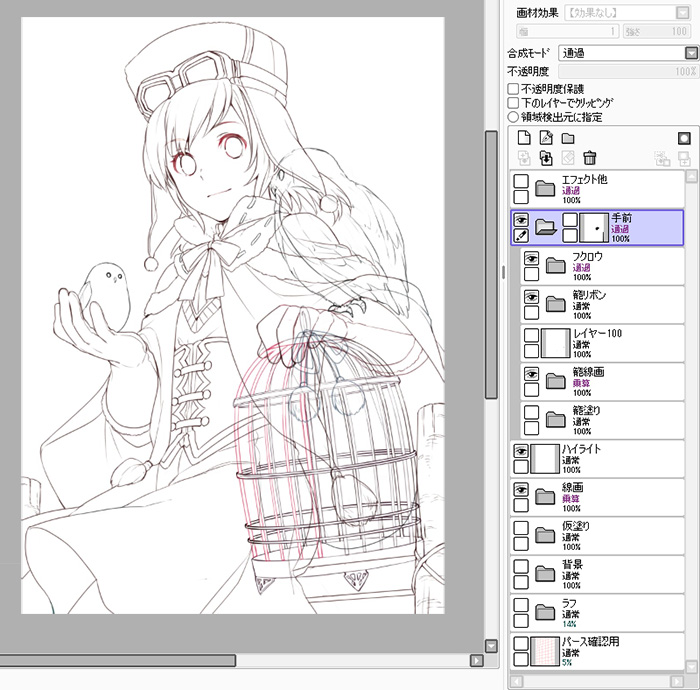
Line art
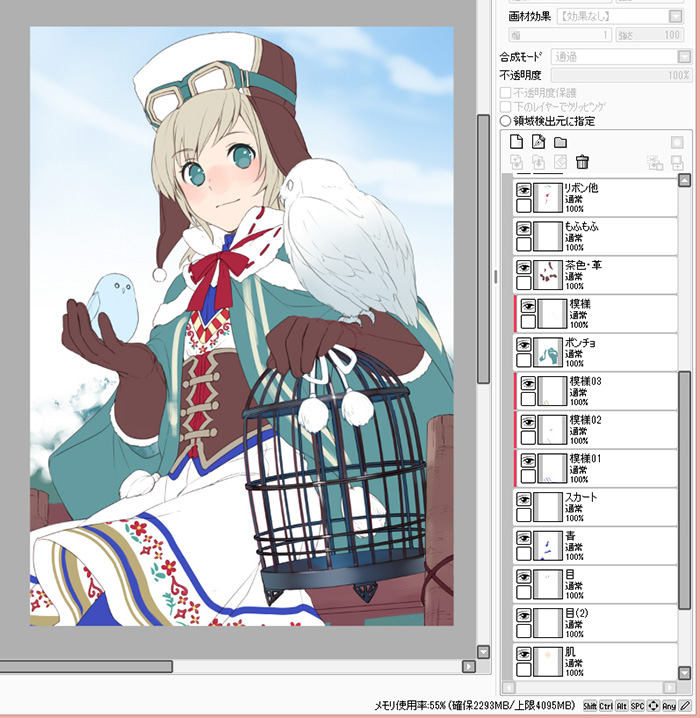
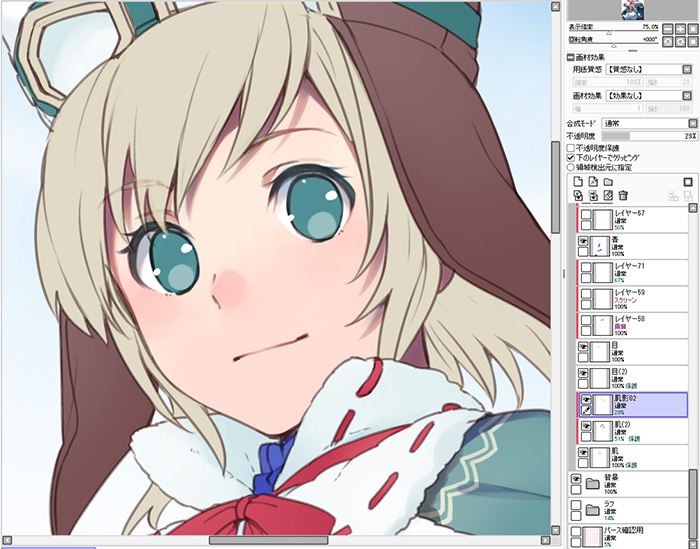
Initial color application
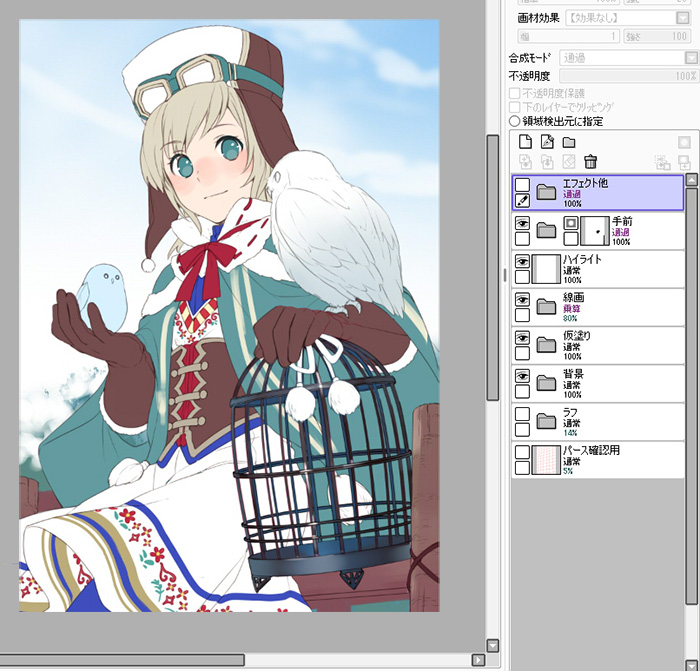
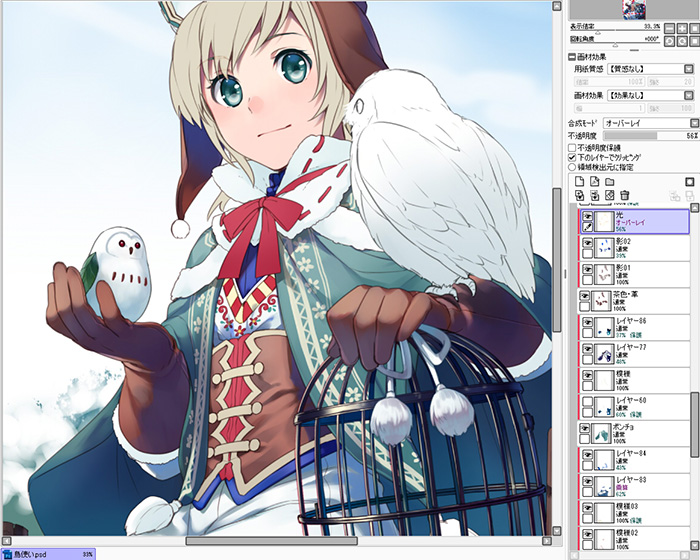
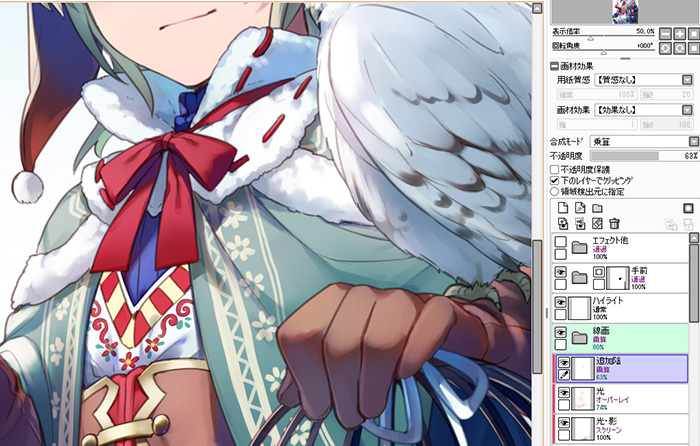
With the coloring we added during the rough as a foundation, we begin to add color to skin, hair, etc. We also add and erase patterns to the clothes here, though they also get changed around during the later full coloring stage as needed when adjusting the overall picture’s balance and composition. In addition, for the birdcage, we put a mask over the wooden parts and other time-consuming areas for now.
Coloring
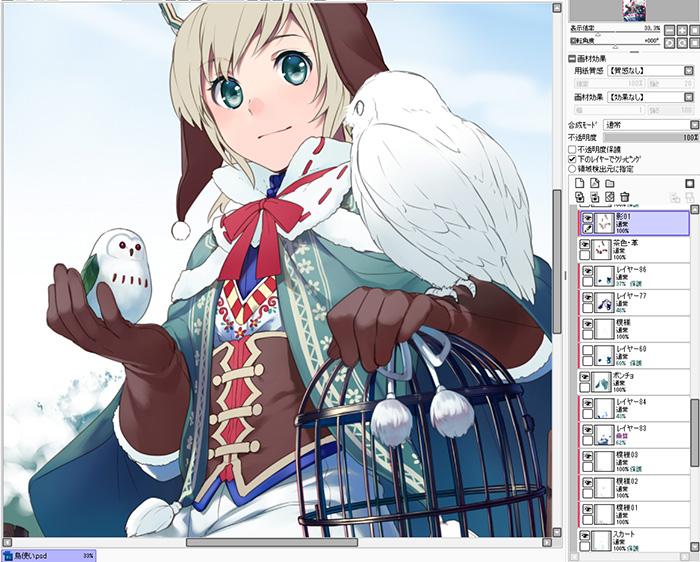
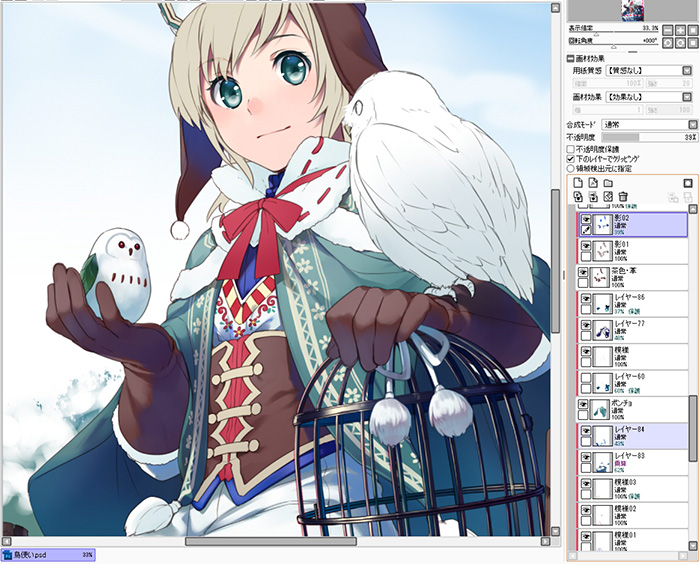
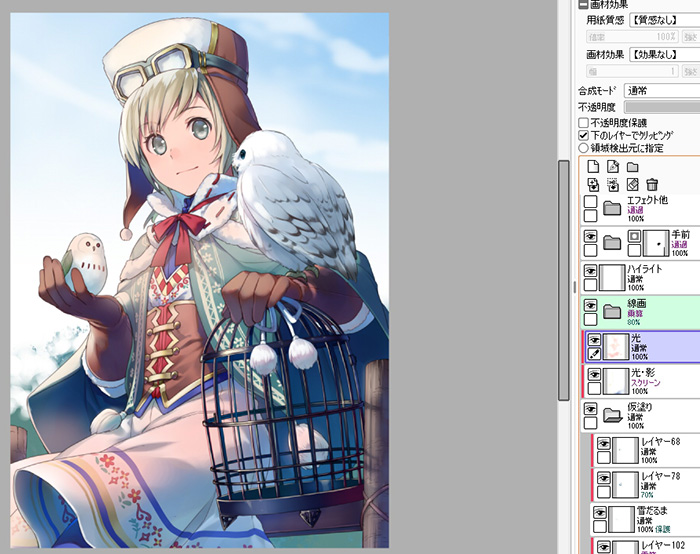
After creating the layers for all the parts and applying color to them, we can now focus on shading. After first using darker versions of the color in certain areas, we then add a deep blue layer to adjust the opacity and augment the 3-D effect. The blue used here can also be adjusted as necessary for the picture’s theme and atmosphere--for today’s purposes, we’re using light to dark blues.

Background

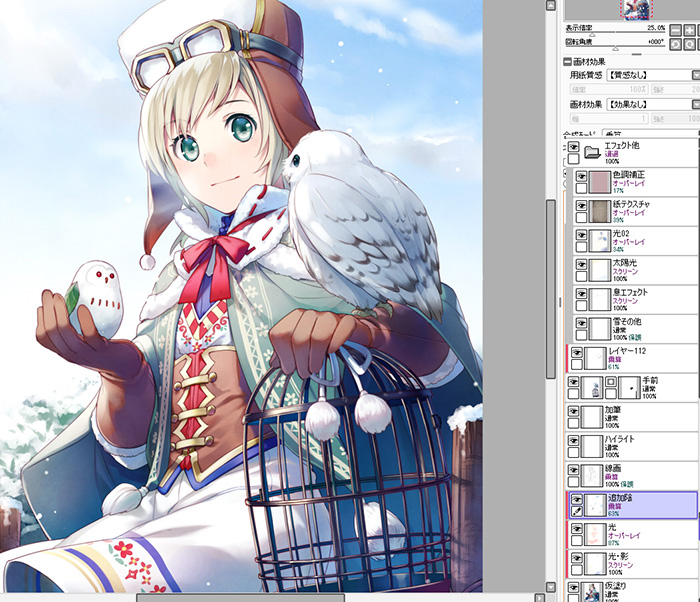
Asahikawa normally gets stuck trying to decide on the background, but the colors laid out in the rough turned out surprisingly well, so it was decided to go with those. Trying to preserve the wintry color palette, trees and snow were added in.
As well, effects like the sunrays and the breath fog were added at this stage, all while tweaking colors here and there for the picture’s overall balance.Finishing Stage
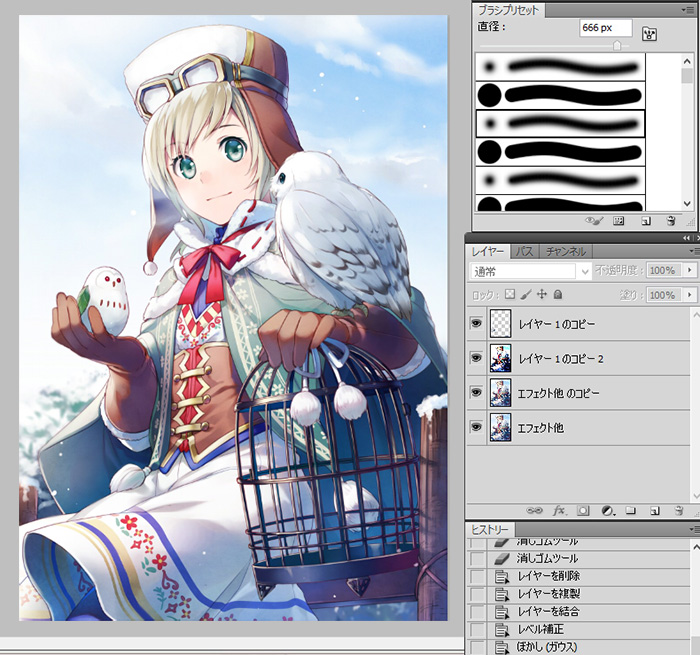
Finished!

The drawing is complete!
From rough to finishing--while working on other projects--the whole process took one week. Actual work time, we estimate, was around one day.Though it can be tempting to charge through the entire process in one go, it’s invaluable to take breaks and step away from the drawing every now and then. Keeping fresh eyes and objectivity will cut down on moments that make you go “Shoot!” when doing the finishing touches.
At the end of the article, we have the making-of video of the drawing Asahikawa made using the Wacom MobileStudio Pro 16!
