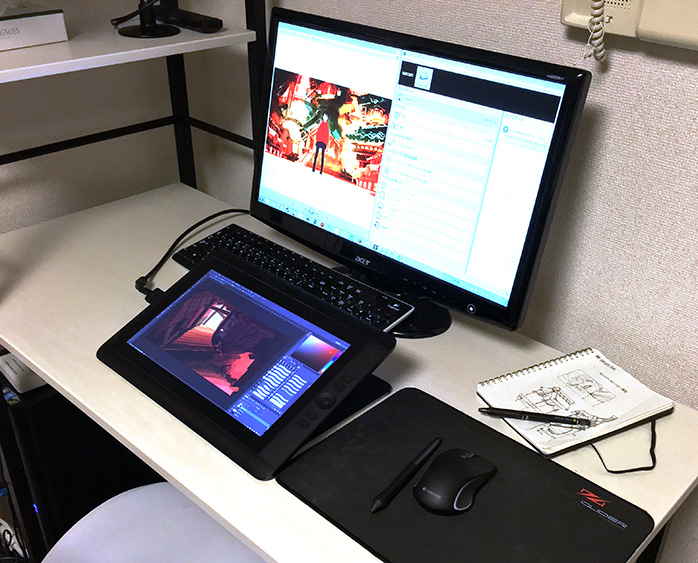
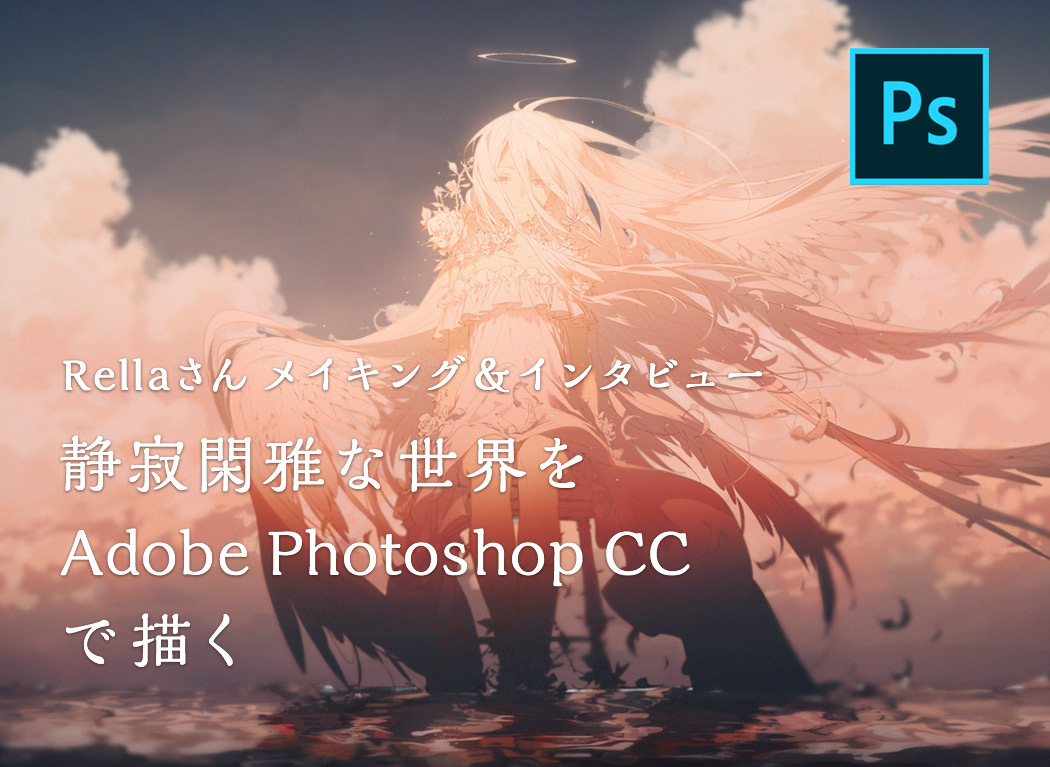
A making-of & interview with Kitsune: painting fantastic worlds with Adobe Photoshop CC
Her driving force was "frustration"
Back then I was a huge fan of "Higurashi When They Cry", and I would draw illustrations and post them on a board of the official website called "Oekaki Republic". However, every day people posted thousands of illustrations and mine (I wasn't really good yet) got lost. It was really frustrating. (laughs) I was really passionate about imitating other people's style.
The brush is the key
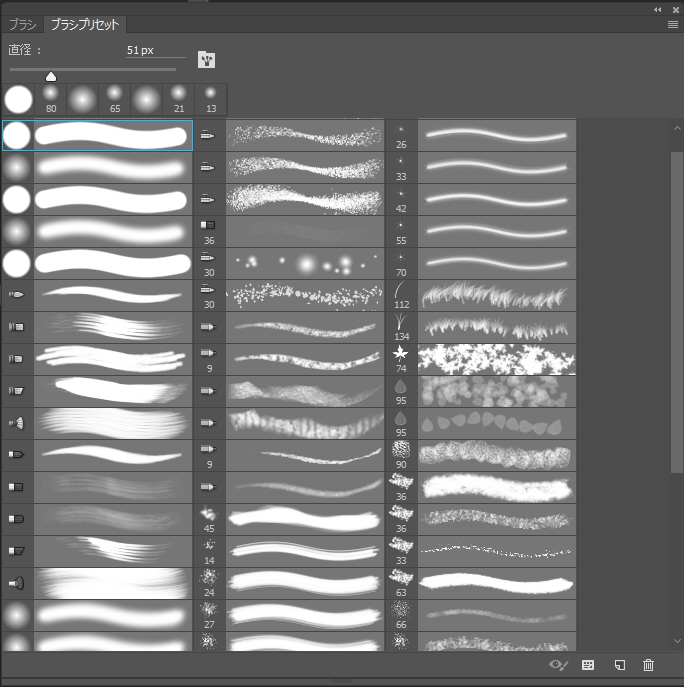
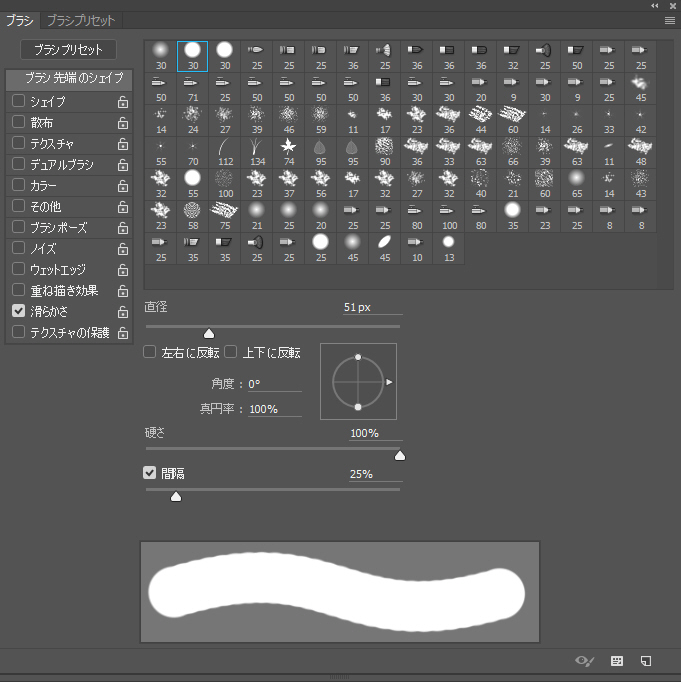
In my case, I often use that hexagonal brush I talked about in the making-of part of this article. It's incredibly useful and versatile, and can draw lines that are difficult to achieve with regular brushes.
When I have to draw plants and rocks I use special textured brushes. This way I can save some time and use it to concentrate on the parts of the illustration I think are the most important.
Many of the brushes I use are free brushes that were shared by overseas artists, and the fact to be able to import and use different sets of brushes is one of Adobe Photoshop big strengths.
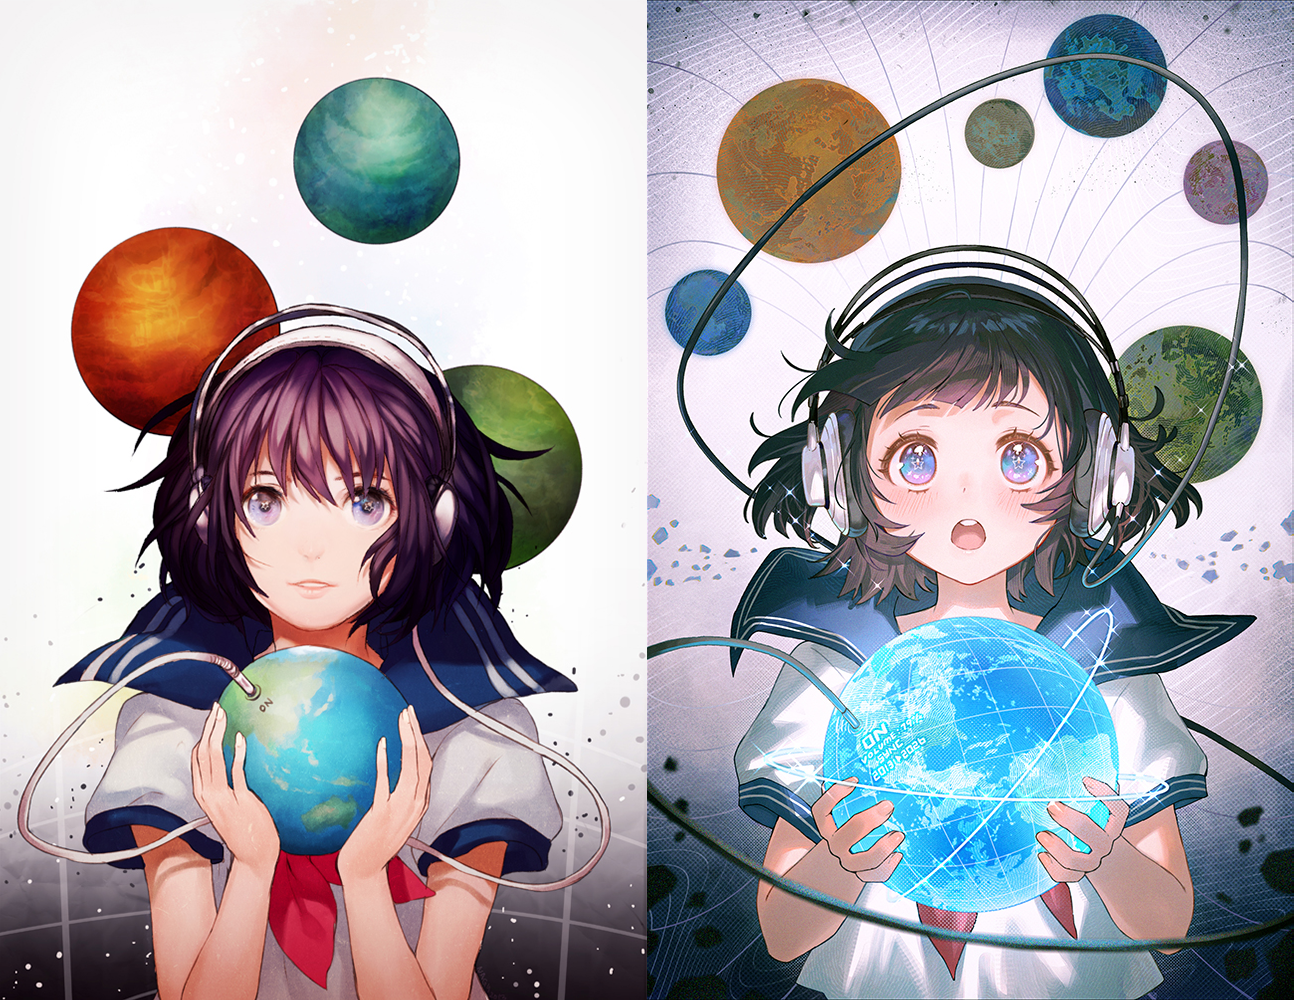
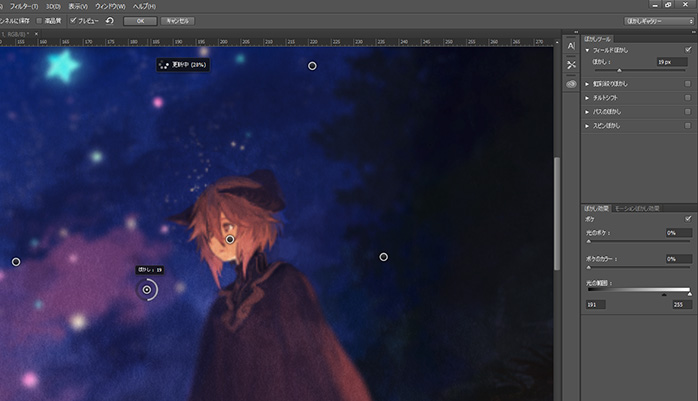
My painting style includes merging the layers many times during the process, and the presence or absence of this blur function can really make a difference. I couldn't live without it.
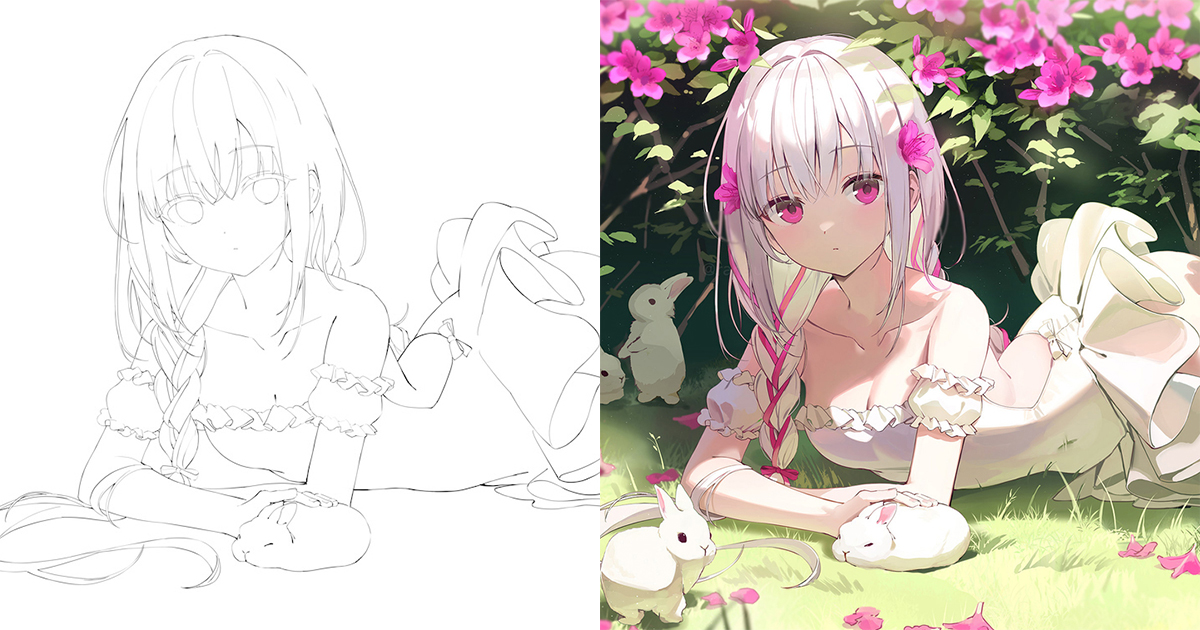
Like everybody, there was a time when I was starting with the lineart and then drew the characters and the background separately, using different layers for different parts and so on. However, I hated having to draw linearts (laughs) so I had to learn a way to paint directly on my canvas without it looking messy. That's how I developed my current style, which I think is my ultimate one.
It was basically the result of a process of extreme simplification, haha.