• English
  • 简体中文
  • 繁體中文
  • 한국어
  • ภาษาไทย
  • Bahasa Melayu
  • 日本語
pixivision
Make it interesting
Explore
  • Illustrations
  • Manga
  • Novels
Create
  • Tutorials
  • Behind the Art
  • Materials
Discover
  • Interviews
  • Columns
  • News
  • Top
  • Behind the Art
  • AI × layer techniques ultimate explanation! A girl with no artistic taste learns to color like a pro (?) in 2 hours!!
Behind the Art
2017.07.01

AI × layer techniques ultimate explanation! A girl with no artistic taste learns to color like a pro (?) in 2 hours!!

  • how to color
  • pixiv Sketch

Interview, article by Sena Kondo

When browsing artworks on pixiv, don't you wish you could be able to draw such majestic pictures yourself? While I'm a pixiv heavy user, I'm always frustrated not to be able to draw as I would like. 
However, in the article "A girl with no artistic taste learns to draw moe illustrations in 3 days", I succeeded at drawing a moe illustration!

Okay, so I learned how to draw - but what about coloring? Isn't that even harder? Even though my drawing skills improved a little bit, I'm still a beginner when it comes to coloring. However, I have good news for all those in my same situation!! In the drawing app pixiv Sketch by pixiv, you can use PaintsChainer (※1) auto coloring function!!
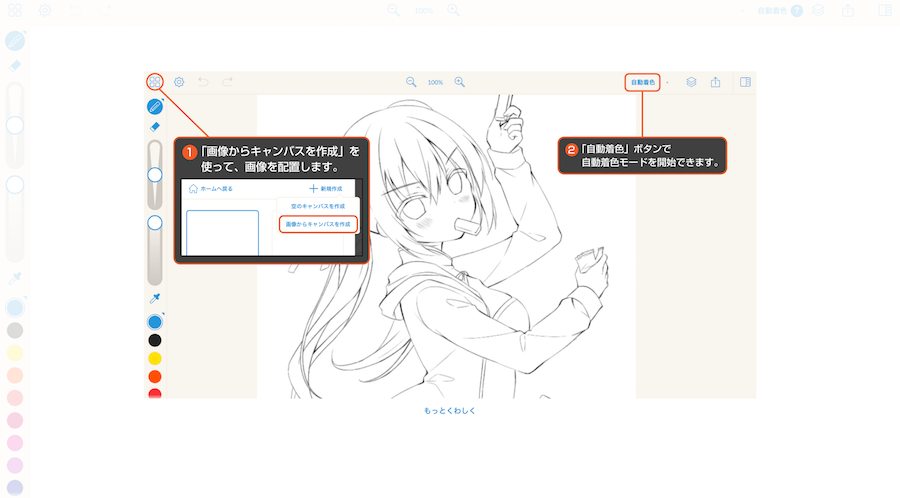
※1 A service that uses artificial intelligence to automatically apply colors within a line drawing.

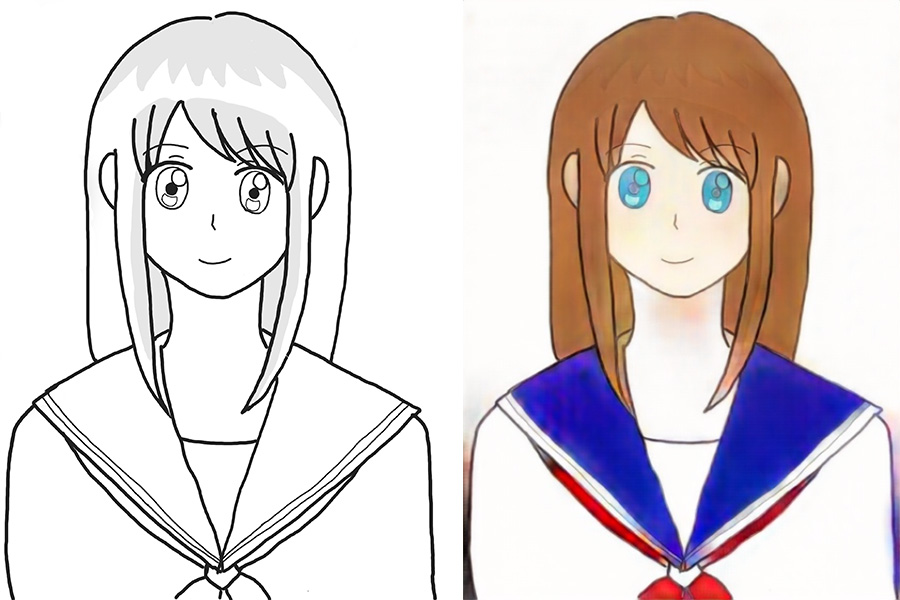
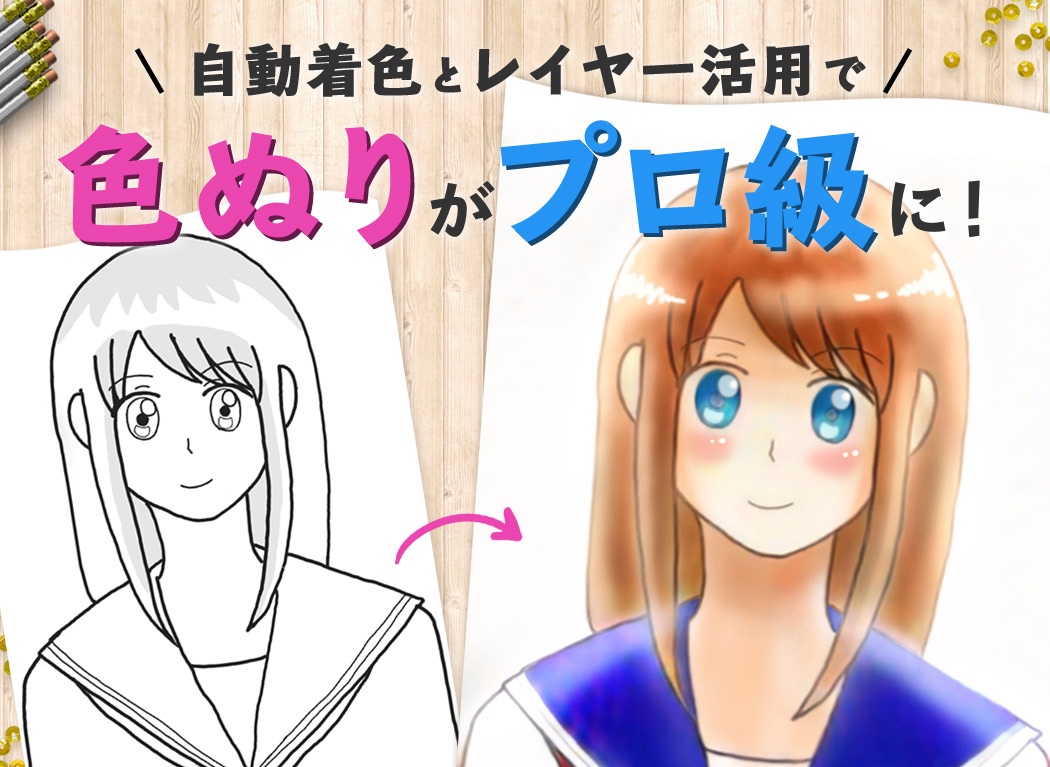
It's super easy! Draw a lineart with the web version of pixiv Sketch or draw one on paper and import it, then click on the button "auto color". It will automatically recognize the lines and apply appropriate colors!

▲ On the left, the lineart drawing. Simply click on the "auto color" button to obtain the image on the right!

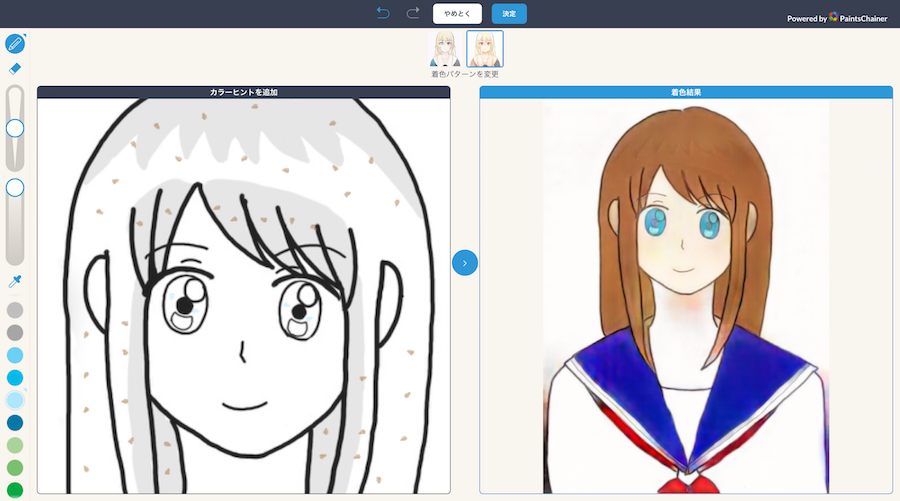
If you want your illustration to have specific colors, you can tell the AI which colors you want to use! Just apply a tiny bit of the color you want to use on the desired part and press the auto color button!

▲ You can indicate specific colors like this.

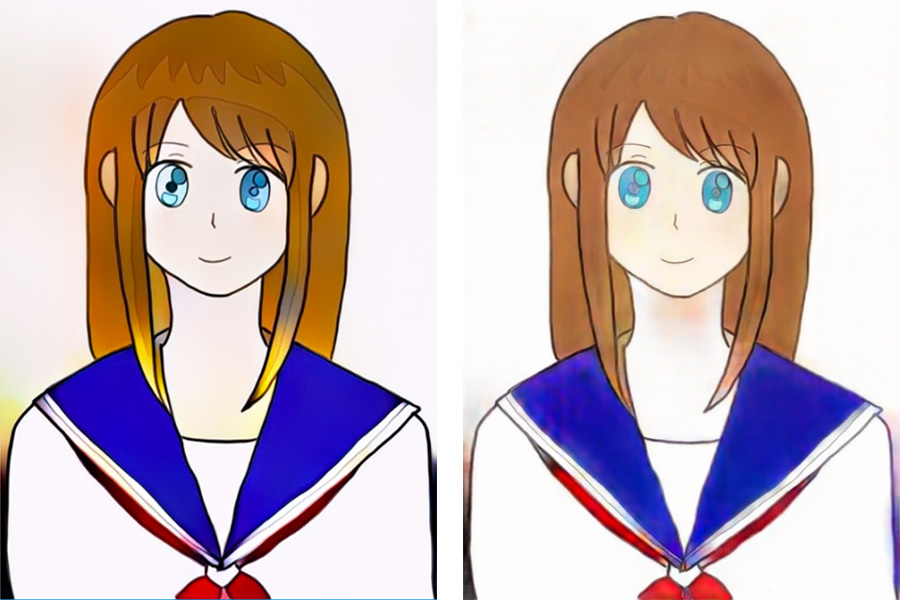
Furthermore, you can choose one of two coloring styles: watercolor and anime.

▲ Anime style on the left, watercolor on the right.

If I add highlights and shadows to this illustration, it will turn out even better. So I decided to ask for the help of an illustrator, Kinokomushi, who specializes in pretty girls, to help me out with perfecting the colors! She's gonna teach me about how to use layers and how even a beginner like me can bring out the atmosphere in an illustration.

1. Preliminary arrangements

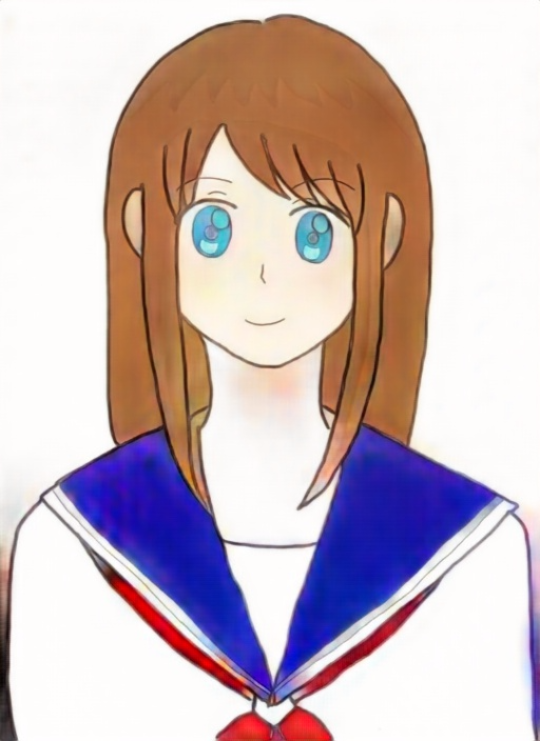
This is the illustration, post-auto coloring and pre-brush up.

I wanted to create a soft atmosphere, so I chose the watercolor style. I import this illustration to pixiv Sketch and get ready to brush it up!

First of all, I need to add colors to the parts that auto coloring left blank.
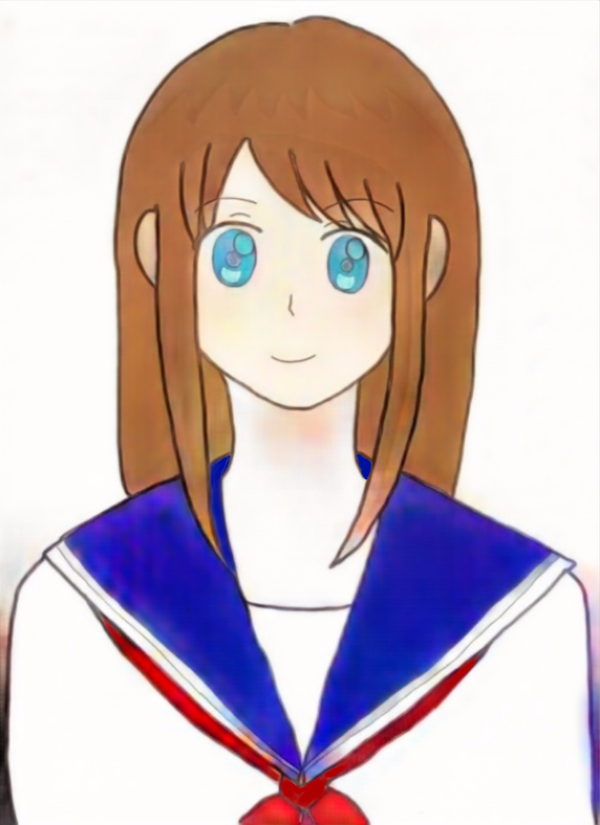
▲ I added colors to her ribbon and collar!

This is it for the preliminary arrangements. From now on, Kinokomushi will teach me about some basic techniques to brush up my illustration!

2. Adding shadows with "Multiply" layers

Let's start with adding shadows all over the painting. What I'm going to use is a Multiply layer.

Multiply layers make colors look deeper, so they are often used to add shadows. Let's start with the bucket tool, and erase the parts we don't need with a soft tipped eraser.

The parts we're going to shade around the face are her hair roots, the back of her hair and the base of her neck. We will use three different shades, to create a three-dimensional effect.

▲ By Kinokomushi. By adding shadows and a bit of redness of her cheeks, the atmosphere completely changed!

If you want to boost the illustration kawaiiness, I strongly recommend applying a shade of red on the girl's cheeks.

The illustration has gotten way more atmospheric by just adding three-dimensionality and redness on her cheeks!

By Kondo: Shading with Multiply layers

The illustration came together by just adding some shadows.

3. Adding highlights with "Screen" layers.
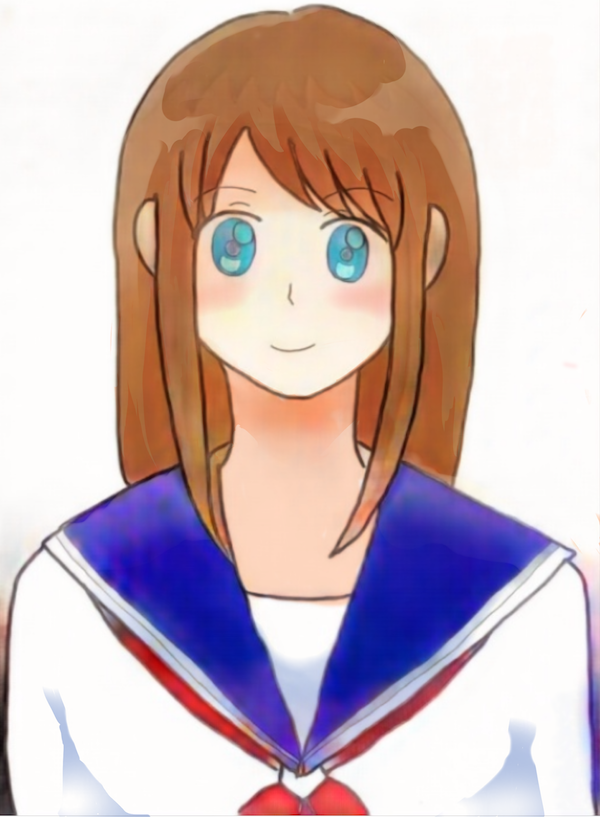
The next step is to add highlights using a Screen layer.

Screen layers are great to create soft-looking highlights. They're especially indicated for hair highlights. This girl has brown hair, so I'm using yellow, but I often use light blue when it comes to highlights.

▲ By Kinokomushi. Thanks to these highlights, her hair looks amazing...!

On pixiv Sketch, you can easily adjust layer opacity, so we should adjust it to make the final result look as good as possible.

Like we did with shadows, we will start out with some gross highlights and erase the parts we don't need, little by little.

The highlights we just added gave a sense of depth to the picture.

By Kondo: Adding highlights with Screen layers
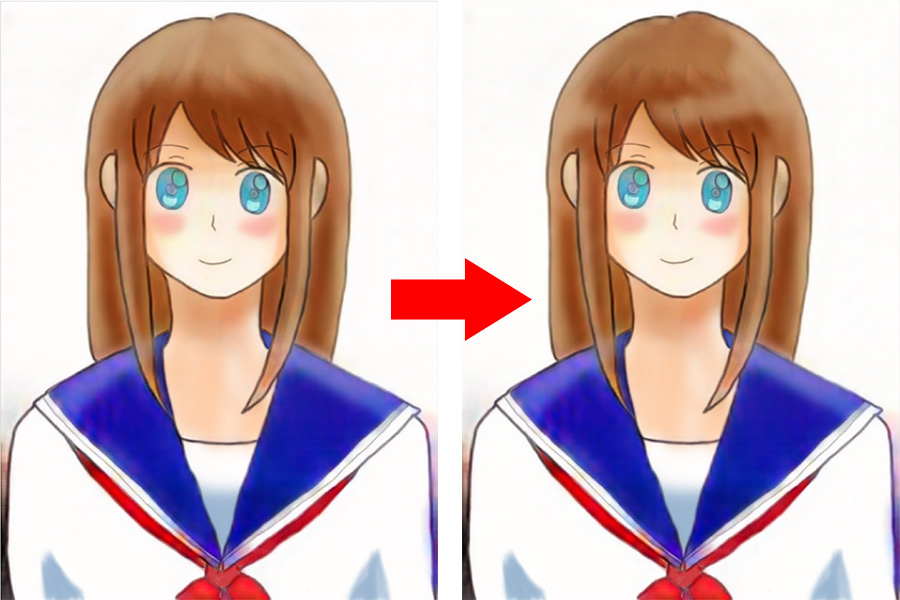
First of all, I added some gross highlights. Then, I adjusted them with the eraser tool!

4. Making the illustration dazzle with "Color dodge" layers.
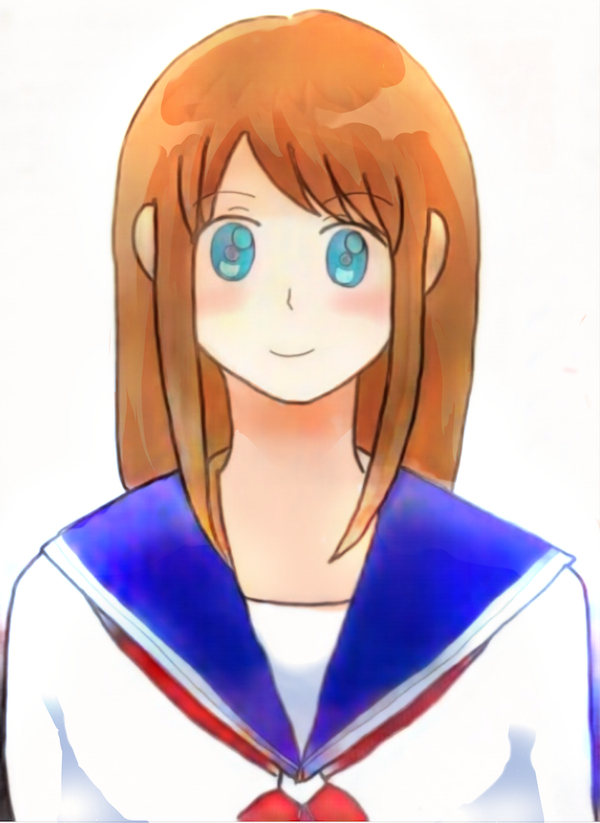
There's another layer mode which is perfect for highlights: color dodge!

It's the perfect blending mode to give the illustration a glittery texture which resembles that of metal. With it, you can define all places where the light source hits hard.

▲ By Kinokomushi. Increasing brightness for an even more three-dimensional illustration!

By adding one more type of highlights, the illustration started looking much more three-dimensional.

You can recreate a fragile atmosphere by adding this kind of highlight on the edges of her hair and body. It's an easy technique to improve the quality of your illustration!

By Kondo: Making the illustration dazzle with a "Color dodge" layer
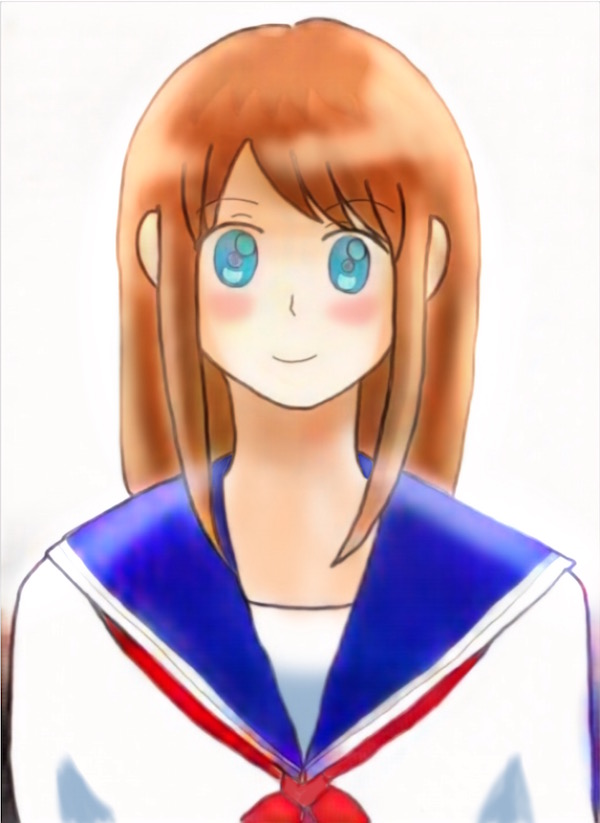
I used a "color dodge" layer and the atmosphere suddenly got more sophisticated!

5. Adjusting colors with "Overlay" layers

The blending mode we are going to use next is called "Overlay". We are going to use it to make some small color adjustments.

By making some small adjustments, the illustration can look even better. We can make her blue collar reflect light, and make her face have a better complexion. Overlay layers make the best use of the colors of the layers below, so they're the best when it comes to color adjustments.
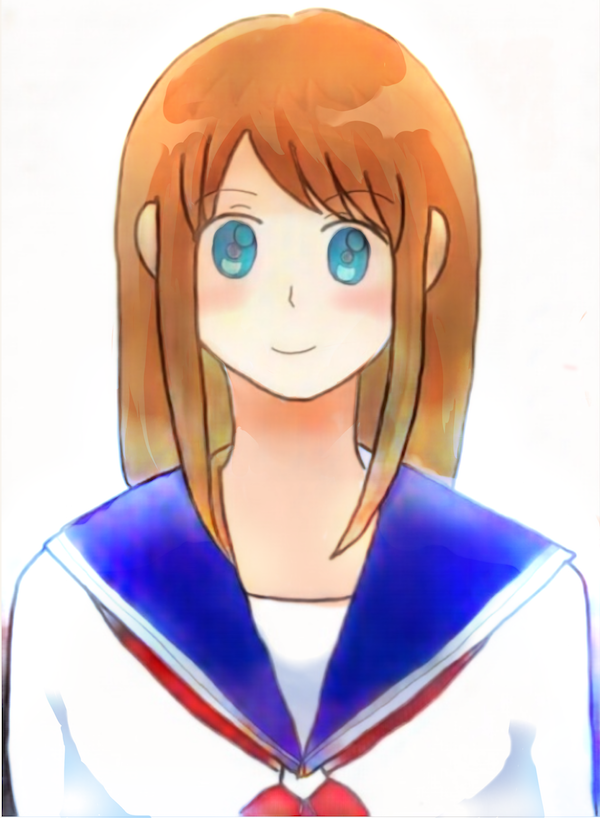
▲ By Kinokomushi. The blue-ish part of her hair looks very natural.

I have the feeling that some basic color adjustments made this illustration look way more expressive.

By Kondo. Adjusting colors with "Overlay" layers.
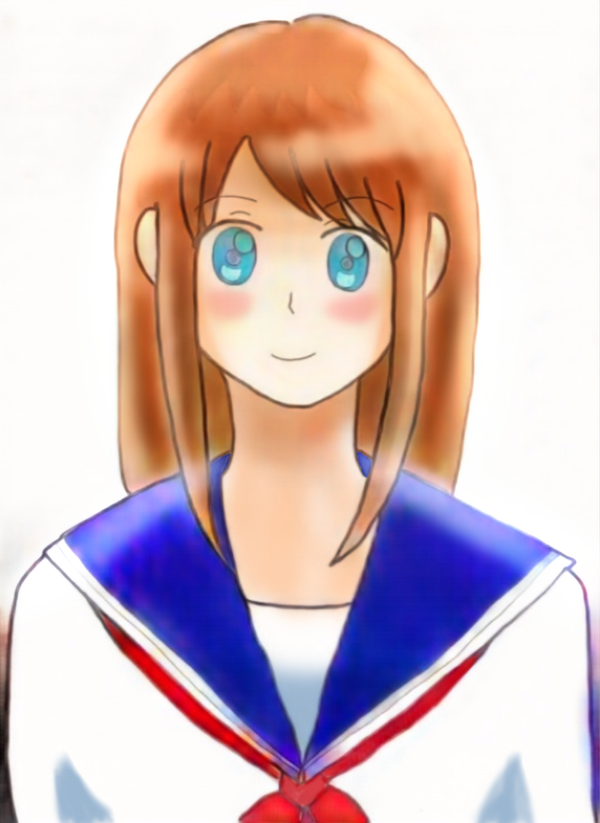
It was very difficult to decide where to add which colors during the color adjustments phase... But in the end, I added a blue-ish shade to her hair.

6. Brushing up the eyes with "Multiply" layers.
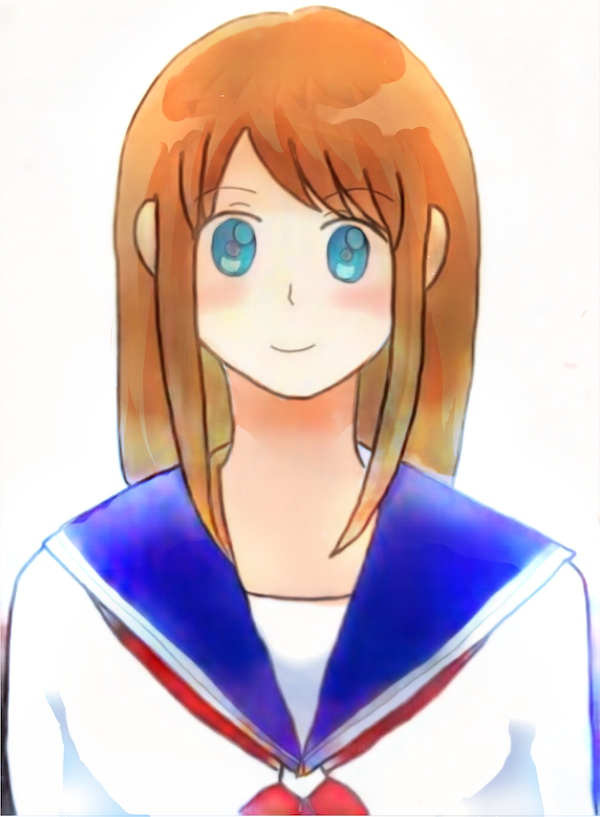
When we're done brushing up the illustration to some extent, we can finally move on to the girl's eyes.

The eyes are usually the part that I put the most effort into. I think the best way to proceed is to create a lot of new layers and make the necessary corrections. Sometimes I create 20 new layers only for the eyes!

▲ Kinokomushi. What a natural-looking gradation!

First of all, let's use a "multiply" layer to make the whole pupil darker. The next step is to use the eraser tool with increased transparency to erase the lower half of the pupils. This way, you can easily create a nice gradation effect!

By Kondo. Brushing up eyes with "Multiply" layers.
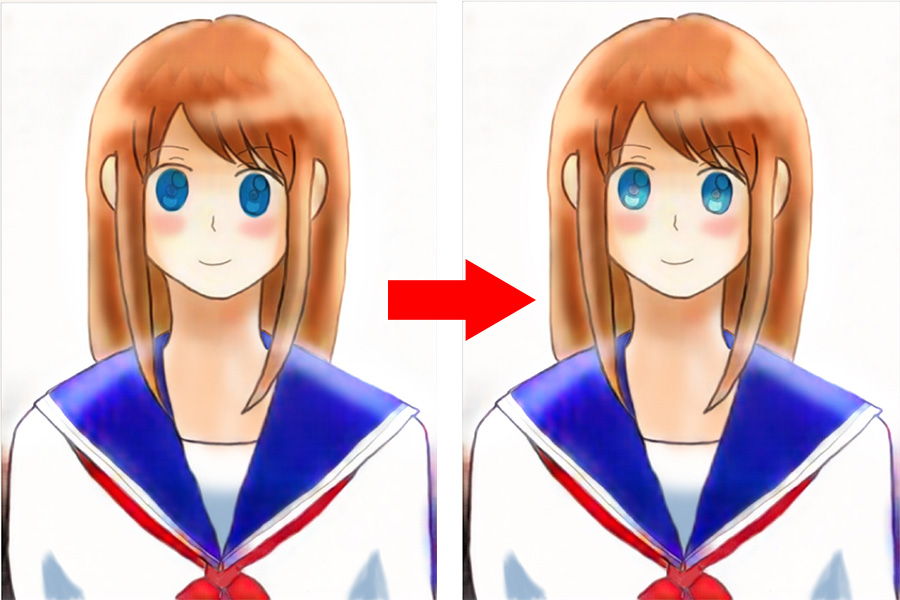
First of all, I made the pupils darker. Then, I erased the bottom half with the eraser tool. What a natural-looking gradation!

7. Brushing up eyes with "Screen" layers

The next step is to add highlights to the eyes using a "screen" layer. We will express the highlights inside her pupils using a soft white brush.

The character's face comes to life as soon as you add highlights to her eyes!

By Kondo. Brushing up the eyes with "Screen" layers
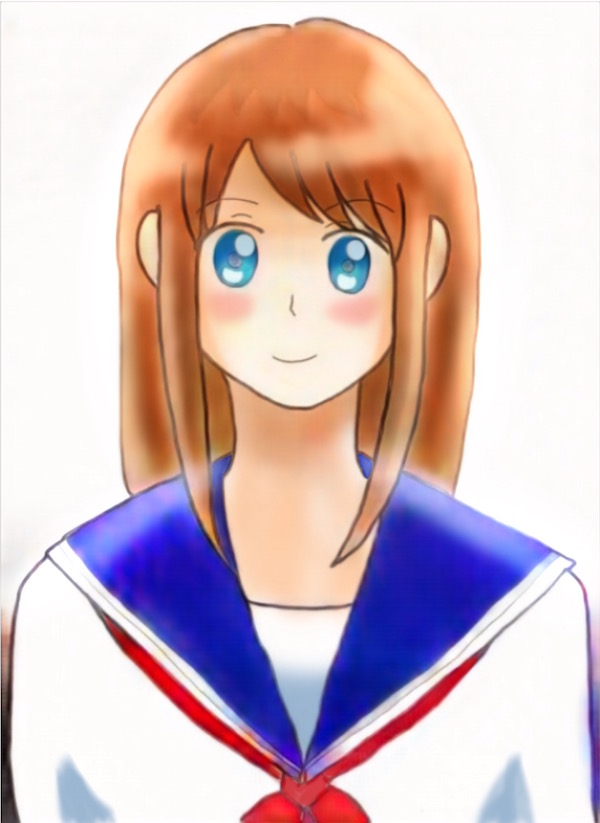
Now that I added highlights to her eyes, it looks like she could jump out of my screen at any time!

8. Polishing her hair, cheeks and eyes with "Normal" layers
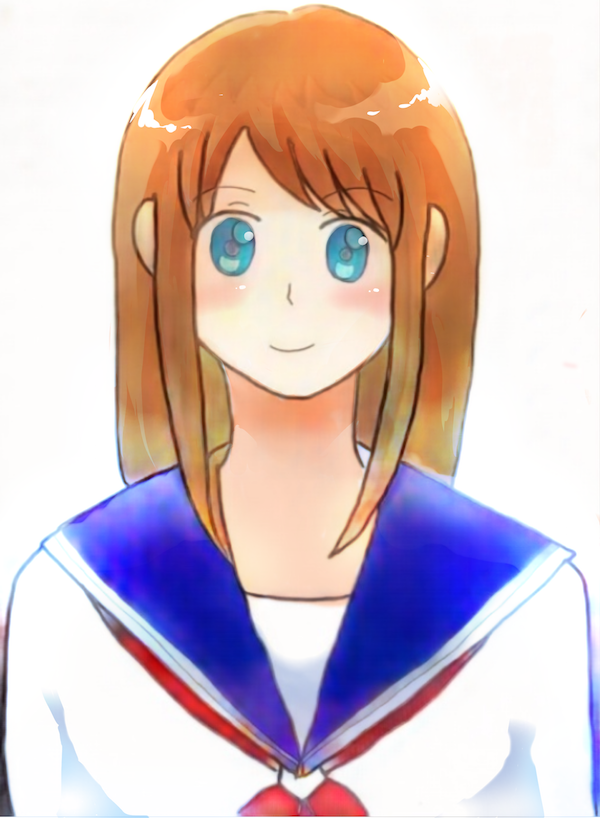
In order to recreate a more soft and polished feeling, we add some more highlights using a "normal" layer.

With a soft white brush, I add highlights to her hair, cheeks and eyes. This will boost her cuteness!

▲ By Kinokomushi. The highlights in her hair look almost too natural to be painted!

Adding this kind of highlights or skipping them makes a huge difference! It's a bit of a ruse, but using this technique really allows you to bring out the cuteness of this girl!

By Kondo. Polishing her hair, cheeks and eyes with "Normal" layers.
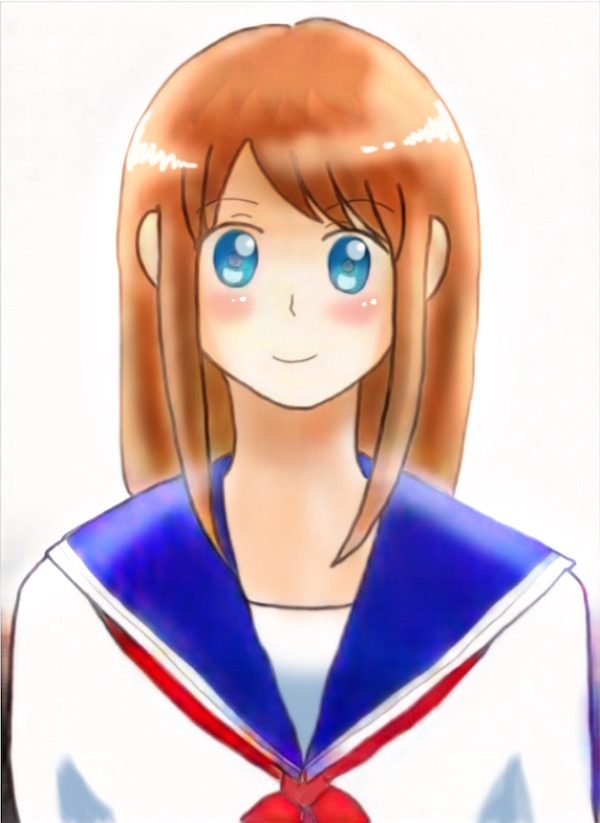
I took a leaf from Kinokomushi's illustration and tried to add highlights the same way!

9. Finishing touches with "Screen" layers

We will use a "screen" layer for the finishing touches.

Lastly, let's make the overall atmosphere convenient. I will add highlights throughout the whole illustration. It's a nice way to cheat when the lineart didn't come out so good!
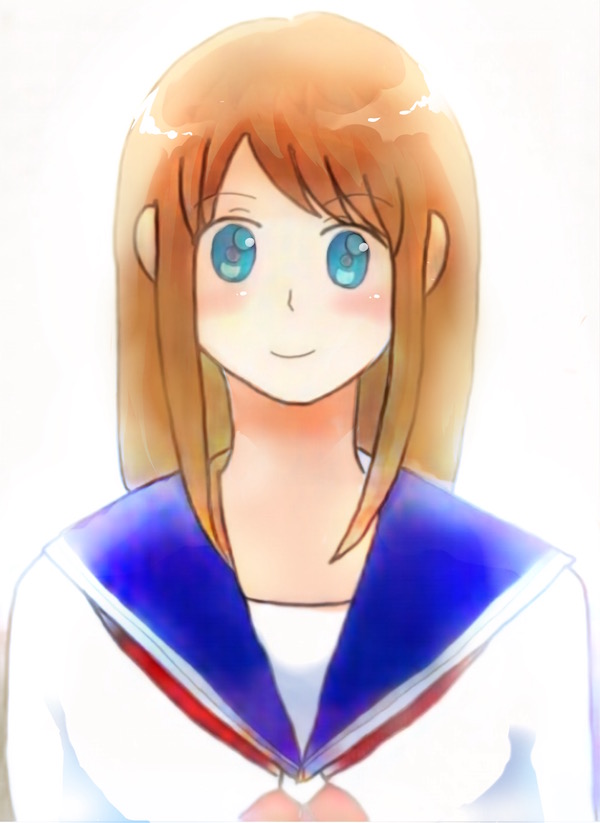
▲ By Kinokomushi. The illustration got much softer and dreamy...!

By adding highlights and partially removing the outer lineart, the illustration now has a very dreamy feeling. Now it's on a whole new level of completion.

By Kondo. Finishing touches with "Screen" layers
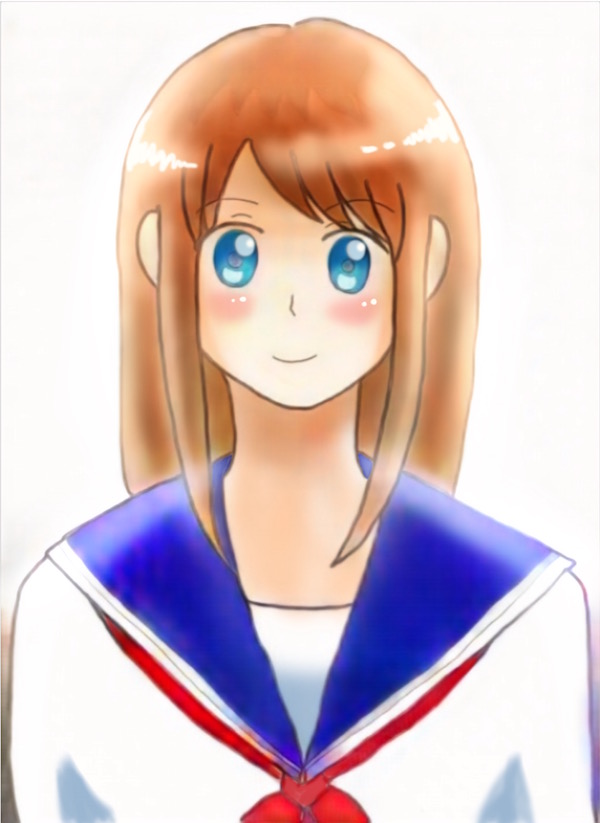
I would never have thought that someone like me, with no artistic taste at all, could pull off an illustration like this...!

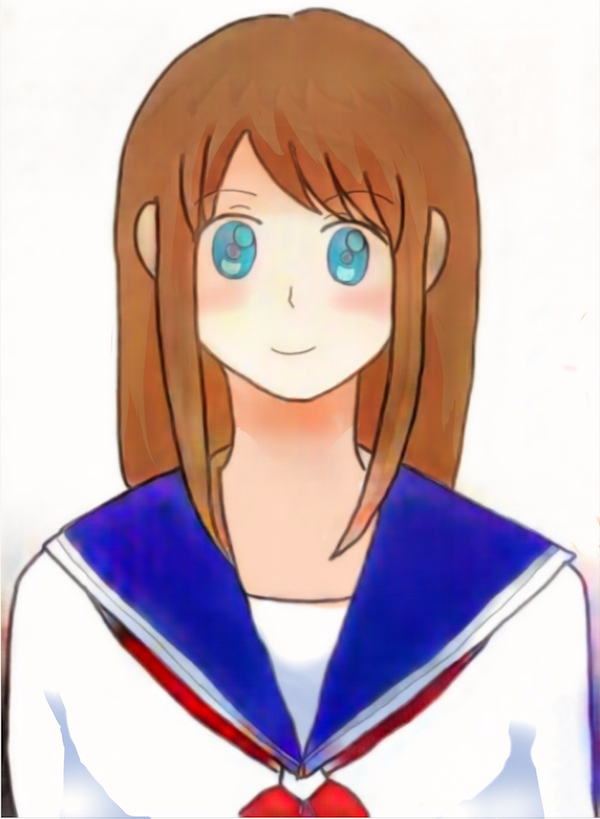
The illustration brush-up is complete!

The ones below are the final illustrations, with all the highlights and shadows!

This one is Kinokomushi's illustration. It portrays a beautiful girl, and the overall atmosphere is very soothing. Both shadows and highlights look extremely natural. You can tell she is a pro!

This one is Kondo's illustration. Compared to Kinokomushi's, the quality is still inferior... But you wouldn't say this is someone's first try using blending modes...! The difference between the completed illustration and the auto colored one is impressive.

Moreover, it only took 2 hours from coloring until finishing! Thanks to auto coloring and Kinokomushi's precious directions, I was able to complete a fascinating illustration in no time!
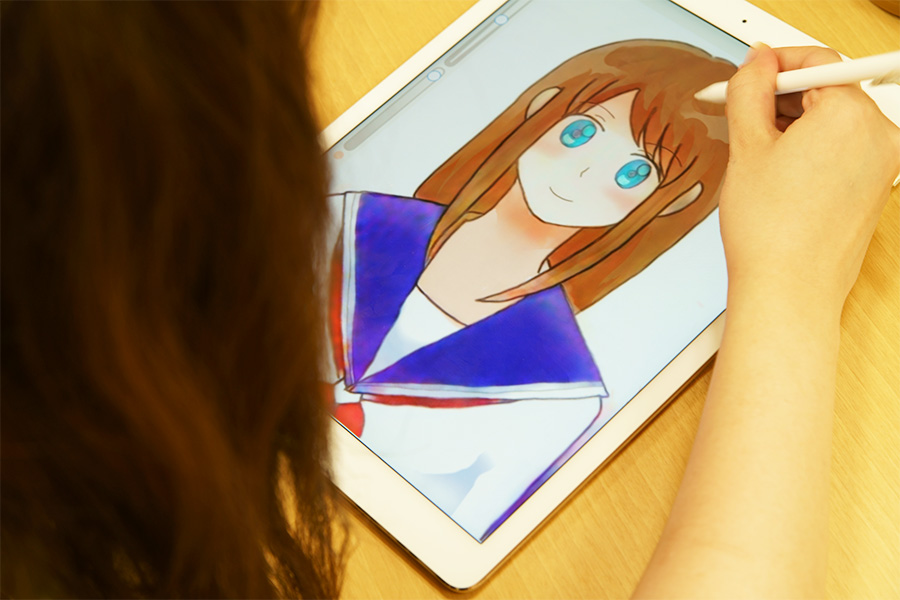
The coloring process is usually quite codified, so it can get boring from time to time. However, thanks to auto coloring, you can skip the boring part and only worry about finishing touches! How cool!

Thanks to the auto color function, a girl with no artistic taste could pull off a fascinating illustration!
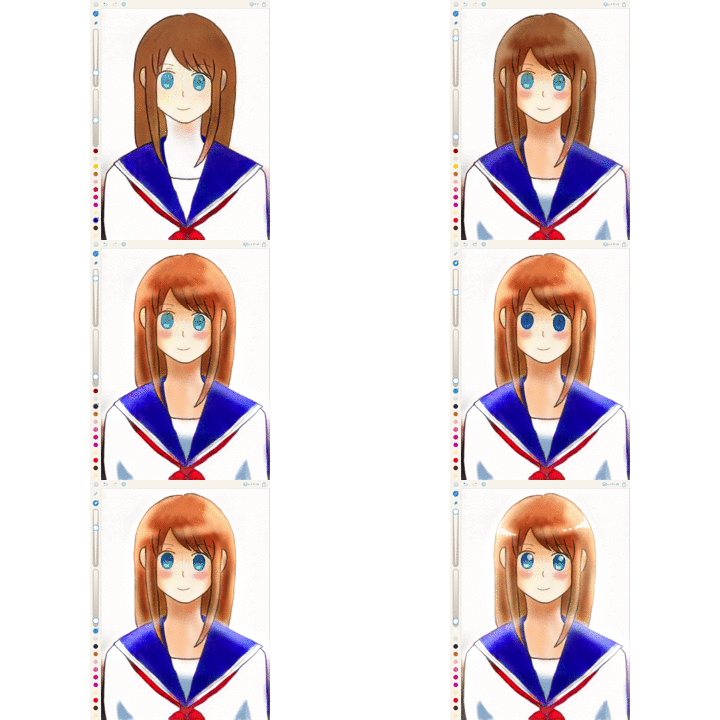
Thanks to pixiv Sketch auto-color function and to Kinokomushi's precious advice, a girl with no artistic taste whatsoever managed to pull off an illustration that doesn't look half bad!

When you compare all steps like this, you can really notice that the illustration has a completely different feeling after brushing it up! I won't say it looks like something a pro will draw, but I am very satisfied with the unexpected results. I tried my hand at coloring, using blending modes for the first time... And drawing has never been funnier!

pixiv Sketch  auto-color function is currently only available on the web version of the service, but we're planning to implement it into the app in the future. If you're like me and have no artistic taste, or if you enjoy drawing but you're not very good at coloring, you should definitely try it out!
Kinokomushi
  • Kinokomushi
  • Born on March 6th in Kanagawa prefecture. She makes a living out of drawing cute girls.

  • pixiv
    Twitter

Newest articles tagged pixiv Sketch

  • COPIC AWARD 2019 Begins Now! - Join us, Copic artists from all over the world!

    COPIC AWARD 2019 Begins Now! - Join us, Copic artists from all over the world!

  • If you're not using pixiv Sketch yet, you're missing out! Live broadcasts, daily themes, illustration contests and more

    If you're not using pixiv Sketch yet, you're missing out! Live broadcasts, daily themes, illustration contests and more

  • A "Shoutout" feature that supports creators and a "Rewards" service for creators have been released! - I want to cheer on you as you work!

    A "Shoutout" feature that supports creators and a "Rewards" service for creators have been released! - I want to cheer on you as you work!

  • The Official Character Is Too Cute! Pawoo & pixiv Sketch "Eeai Chiena-chan Illustration Contest" Results!

    The Official Character Is Too Cute! Pawoo & pixiv Sketch "Eeai Chiena-chan Illustration Contest" Results!

If you liked pixiv Sketch, you will also love...

  • Video: Drawing Challenge! 99's "Kaitemita"!

    Video: Drawing Challenge! 99's "Kaitemita"!

Share this article
  • Share
  • Post
  • Share
  • Post

Tags:

  • how to color
  • pixiv Sketch
Follow pixivision on Facebook!
Find us on X too!
Follow @pixivision
Stay updated with pixivision's daily features!

Newest articles tagged Behind the Art

  • The Making of 13 Copic Drawings - A Lesson in Coloring

    The Making of 13 Copic Drawings - A Lesson in Coloring

  • The Making of 15 Watercolor and Colored Pencil Drawings - A Glimpse Behind the Scenes

    The Making of 15 Watercolor and Colored Pencil Drawings - A Glimpse Behind the Scenes

  • Are you ready for Comiket? Useful Techniques For Your Event Booth

    Are you ready for Comiket? Useful Techniques For Your Event Booth

  • Wait a second! (Almost) Useless Tutorials

    Wait a second! (Almost) Useless Tutorials

View more▶︎

Follow pixivision's
official accounts!

p-chanMonthly Ranking
  • Illustrations

    Drawings of Patterned Bikinis - Pre...

  • Illustrations

    Drawings of Pools at Night - After ...

  • Illustrations

    Fan Art of Kisaki (Swimsuit) from B...

  • Illustrations

    Drawings of Flared and Frilled Biki...

  • Illustrations

    Drawings of Streaked Hair - Lucky S...

p-chanFeatured
  • Illustrations

    Fan Art of Haru Urara from Umamusum...

  • Illustrations

    Drawings Featuring Thigh “Spillover...

  • Illustrations

    Drawings of Flushed Faces - At Firs...

  • Illustrations

    Drawings of Smug Faces - Pretty Imp...

  • Illustrations

    Drawings of Dream Crossovers - Drea...

Follow pixivision's
official accounts!

  • Top
  • About pixivision
  • Suggest a theme
  • English
  • 简体中文
  • 繁體中文
  • 한국어
  • ภาษาไทย
  • Bahasa Melayu
  • 日本語
  • pixivision
  • About pixiv Inc.
  • Terms of Use
  • Contact Us
  • Advertising
  • Privacy Policy
©pixiv