• English
  • 简体中文
  • 繁體中文
  • 한국어
  • ภาษาไทย
  • Bahasa Melayu
  • 日本語
pixivision
Make it interesting
Explore
  • Illustrations
  • Manga
  • Novels
Create
  • Tutorials
  • Behind the Art
  • Materials
Discover
  • Interviews
  • Columns
  • News
  • Top
  • Behind the Art
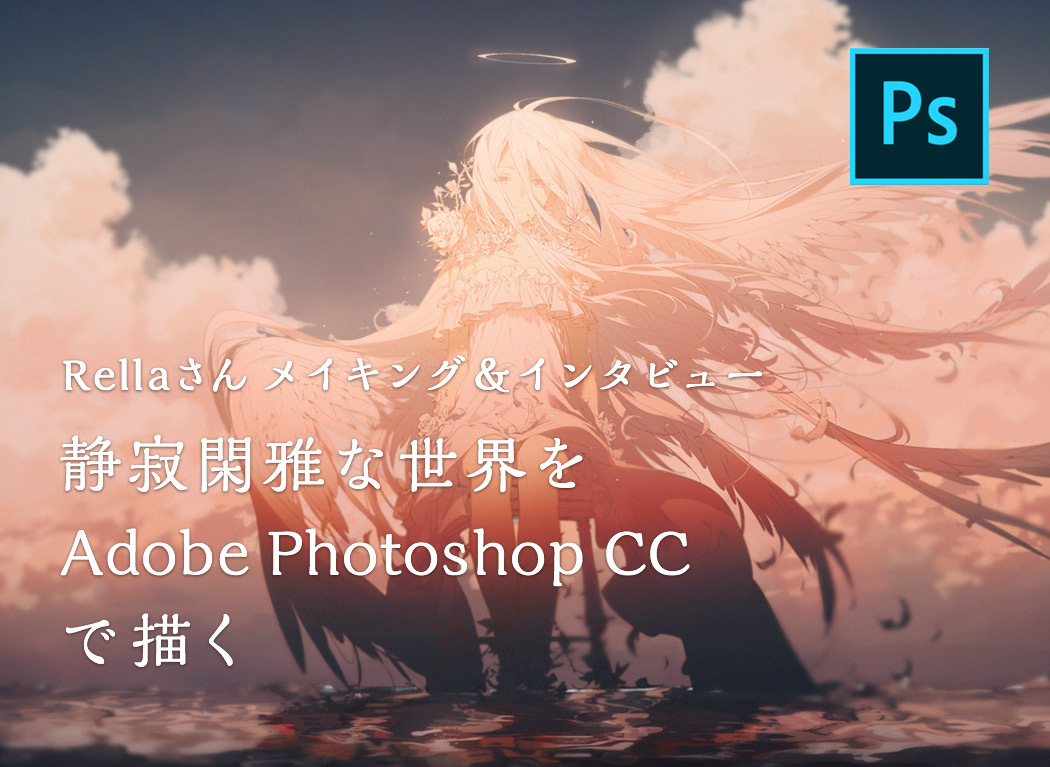
  • Rella making-of and interview - Drawing a peaceful and elegant world with Adobe Photoshop CC
Behind the ArtPR
2016.12.30

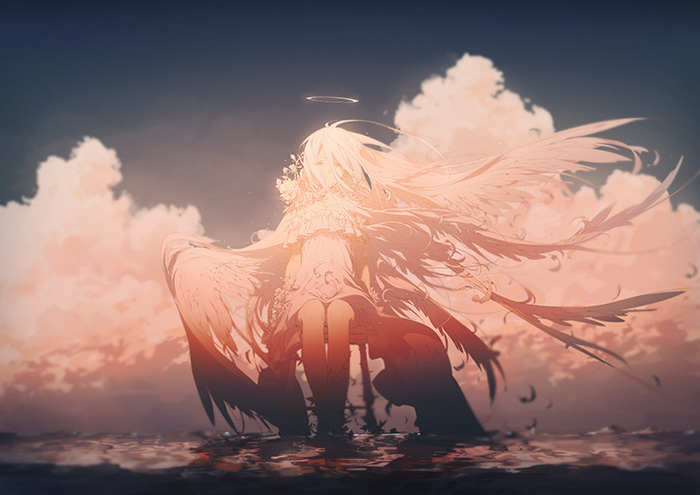
Rella making-of and interview - Drawing a peaceful and elegant world with Adobe Photoshop CC
  • interview
  • illustrator interviews
  • making-of
  • illustration material&software

Interview: Yohei Ogawa
Photographer: Takafumi Sekiguchi

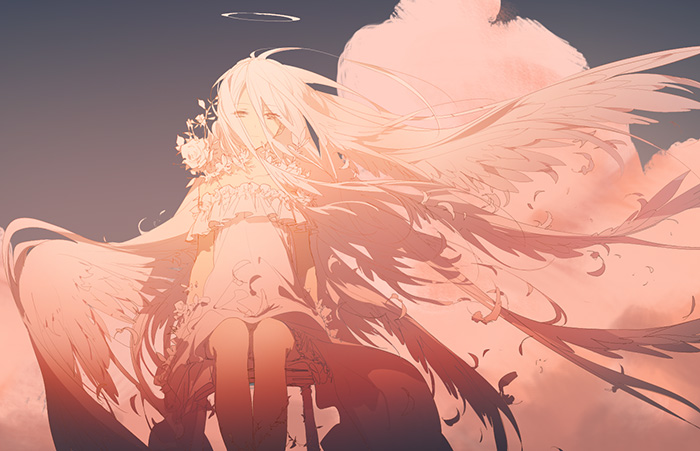
Rella is known for her unique universes, so peaceful you could hear the sigh of a character, and a tinge of loneliness with its pastel colors. Many of us have had our hearts captured by the numerous expressions of the VOCALOIDs on pixiv.


Rella mostly uses Adobe Photoshop CC when on her computer. She prefers not to rely on the basic tools, but likes to express things hand-drawn, and uses the tools on Adobe Photoshop CC that gives her that extra 10% she's looking for.
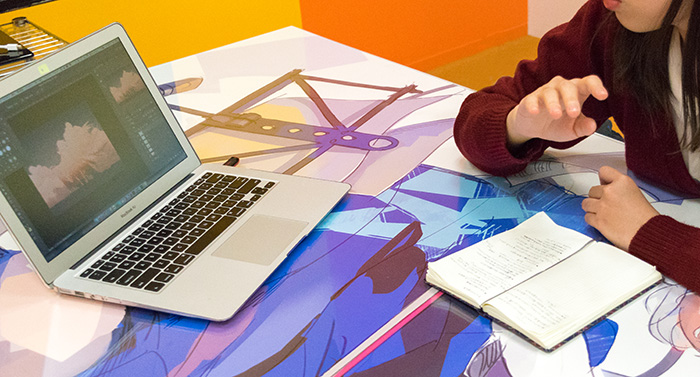
We asked her more about her Adobe Photoshop CC techniques, and her thought process!

Making-of - Illustrations with Adobe Photoshop CC with Rella

Rough sketch
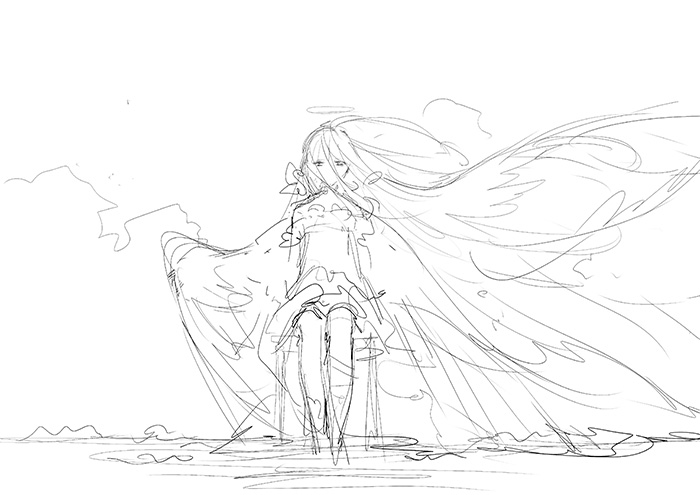
She's drawn the illustration she's doing up this time countless of times, so she'll decide the vague feel as she draws her sketch. There're so many possible situations she just goes with her instinct. 

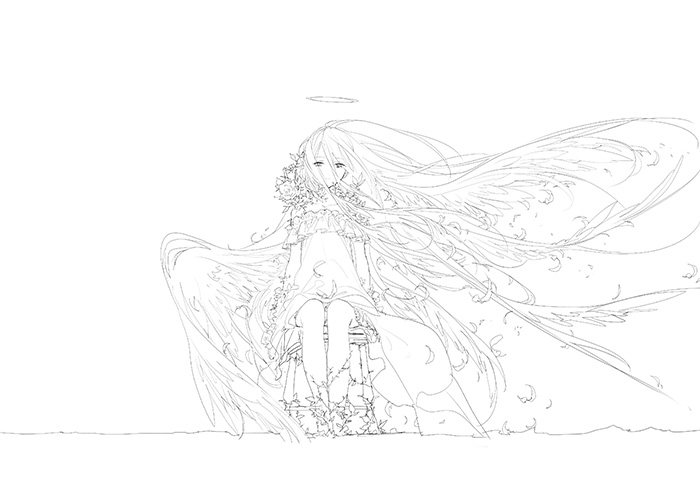
Lining

In my case, I look at the general illustration as I go along with my pen, so I don't really zoom in to one spot. Gaps might form between lines, but let's not worry about that yet. I find it more important to grasp the balance of the whole piece.

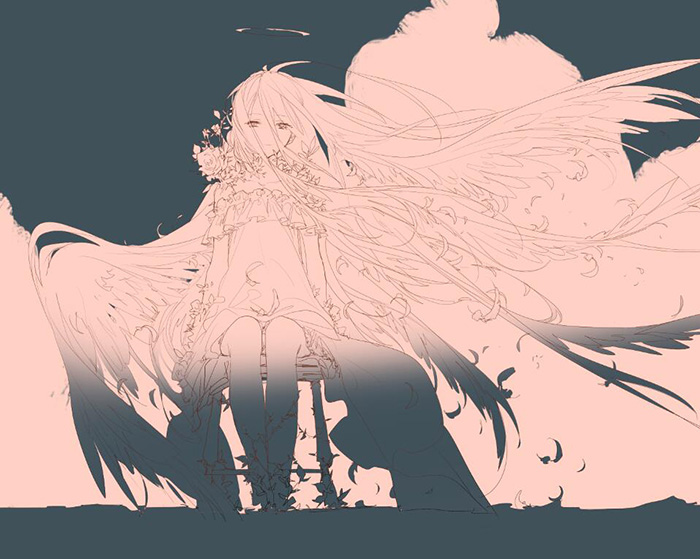
Coloring

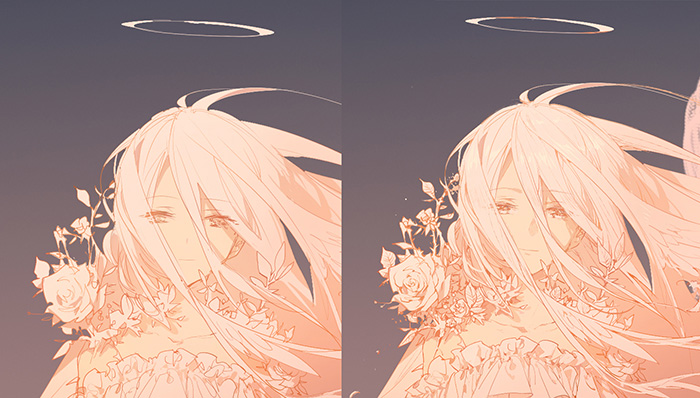
This character has white hair and clothing, so I'll use the same color throughout for the first layer. The first layer is a replenishing of the rough lines, correction of the parts that were not clear previously, and adding on missing details. I don't really use any selection tools, I just go on with my brush.

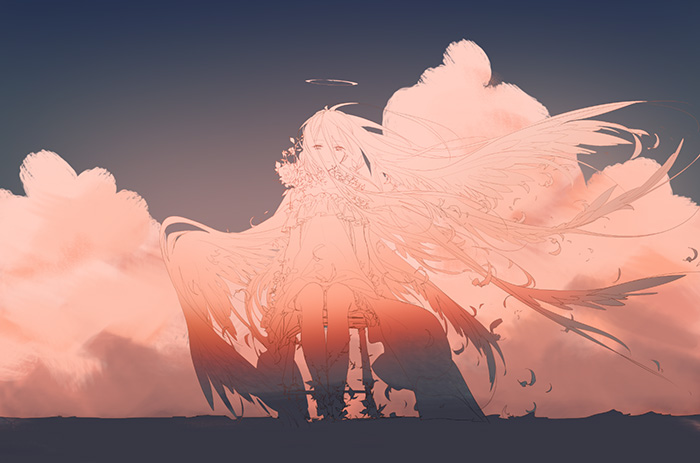
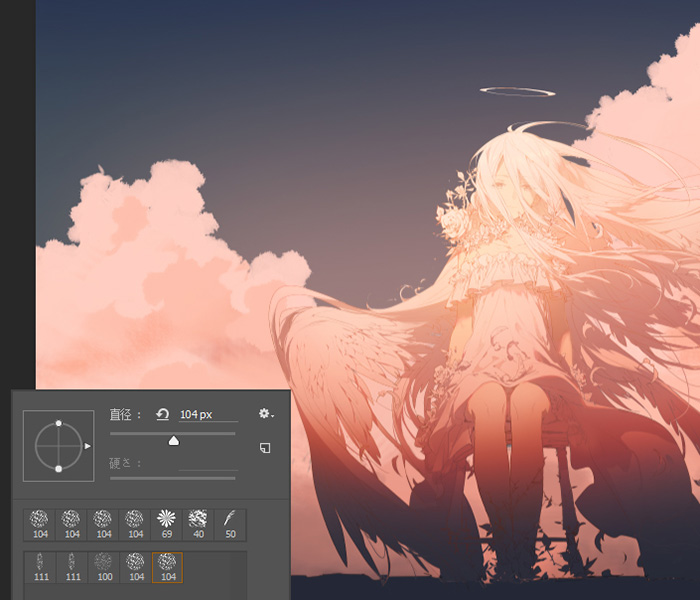
In preparation to the next step, after locking the transparent layer below the characters, I draw in the background. It's going to be a little orange and red this time.

Shadowing

I add a new layer on top of the character layer, add a clipping mask and switch the layer mode to Multiply. I add shadows onto this layer while keeping the light source in mind. Once nearly complete, I lock the transparent layer again and blend in the shadows and the light, and merge the layers.

I add another layer on top of this top one, and change the layer mode to Screen. I add light shining onto the top of the character's head here. The further away from the center the redder, and the darker. I merge the layer once complete.

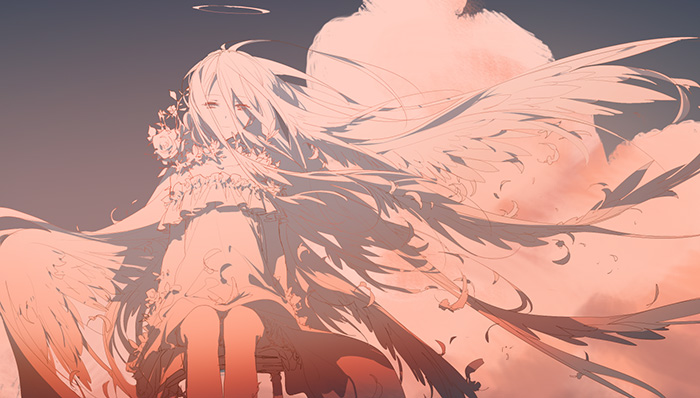
Drawing in

From here on I'll be increasing the quality of the illustration. I color in the missing parts, and fill in the lines. For the character, I edit the lines and shadows, and go about the fine details carefully.

For the highlight of the drawing, the clouds, I choose a slightly crushed brush. It's my aim to give the clouds a 3D kind of feeling. However, since the character is the main item this time, I won't draw the clouds too dense.

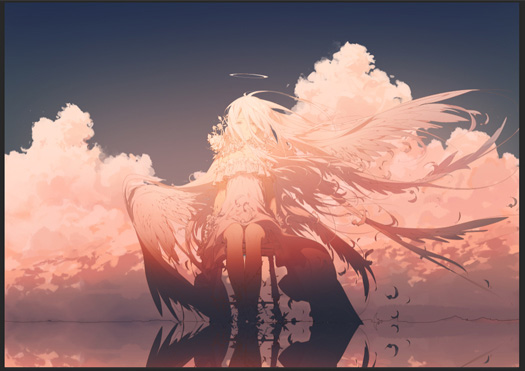
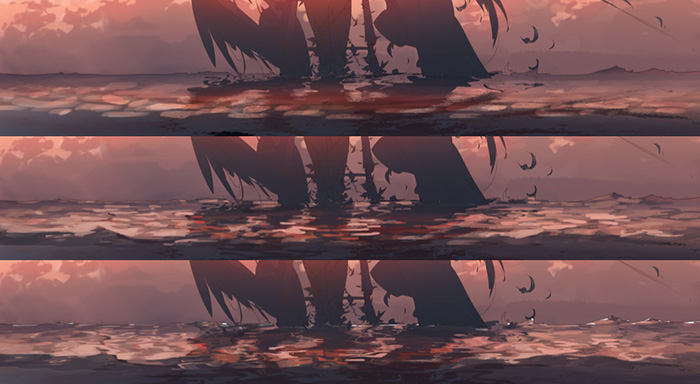
In order to draw the reflection of the clouds and the character on the water surface, I copied the clouds and characters layer, copied them, clicked Edit -> Rotate 180 degrees.
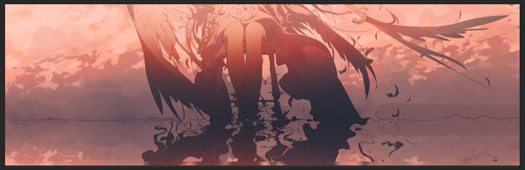
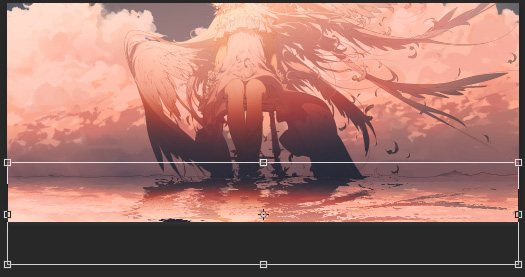
Furthermore, by choosing Filter -> Distort-> Displace, I can use my water texture to make the water surface look like it's moving. This texture is meant for reflections of water, but can also be used or the actual water surface. 

In order to make the reflection of the character even more realistic, I shrink the height of the reflection by half.

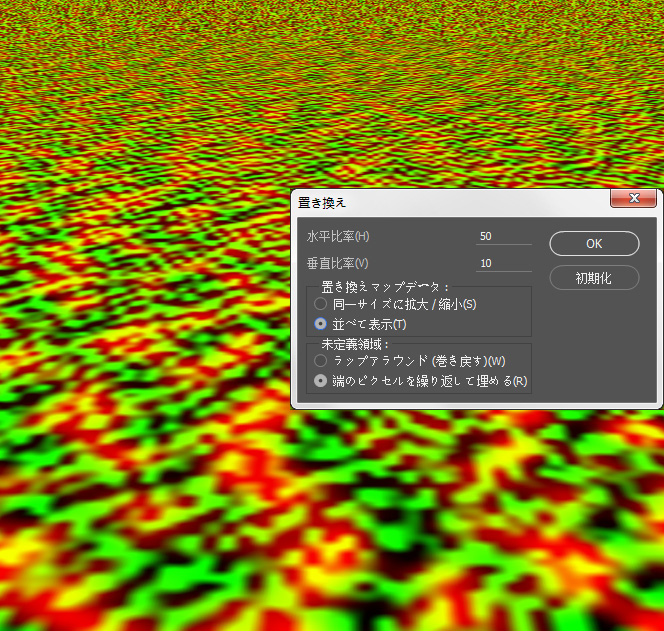
By the way, this is the texture I created for water surfaces. This is it but I don't really get it (haha...) If you exchange this with the filter, it'll give you a water surface effect. It's one of my favorite textures because of its great atmosphere. 


Find out how to make this texture on the Adobe website.

Finishing up

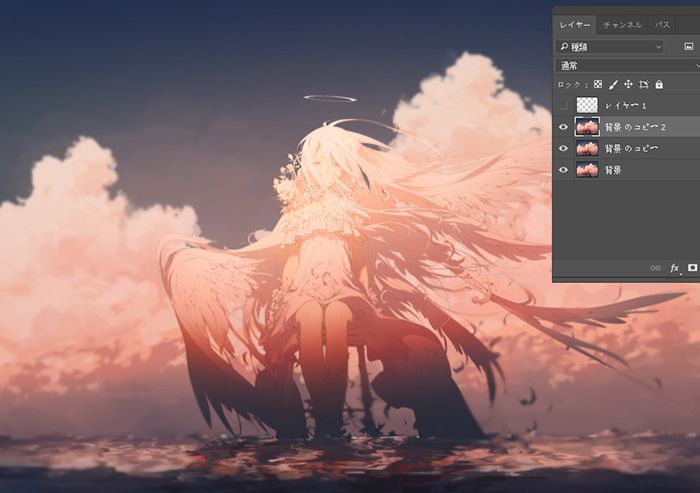
From here on, I'll be using Adobe Photoshop CC's Effects to finish up. First, merge all the layers and duplicate the layers twice. 

Next, add a  Filter -> Blur -> Gaussian Blur. Set the radius as 6~8 for the layers on top and 2~3 for the layers below. 

Use an eraser with the opacity around 20~30%, and flow rate at 15~20%, and erase the portions that do not require a blur. 

This separates the character from the background, and it is vital in helping your main areas stand out.

Tone Curve
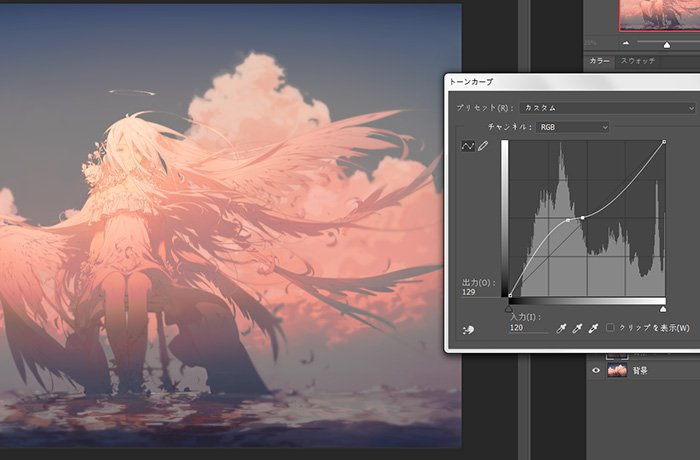
Adjust colors with Image -> Tonal Correction -> Tone Curve.

With the tone curve, you can transform your work into any color of your choice, but we'll just be adding a little green by making the green channel on the curve peak in the middle like a mountain, and lowering the red.

Final adjustments
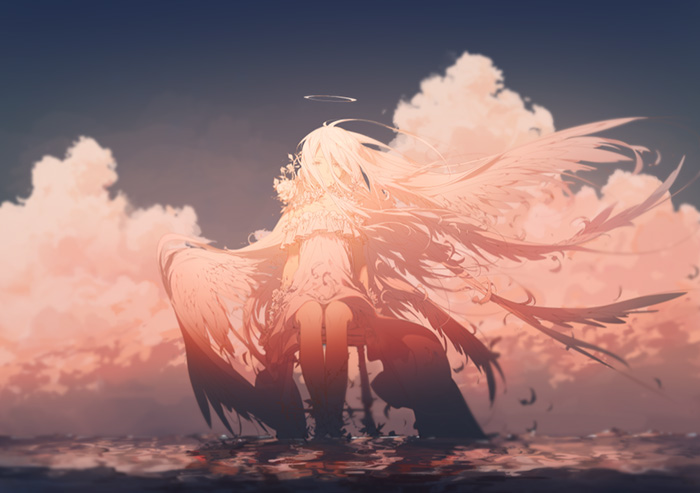
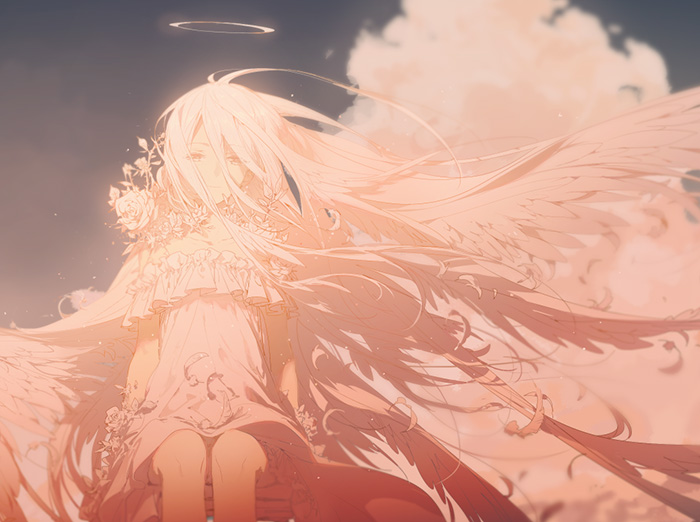
Add a black or blue over the Multiply layer to darken it, and brighten the middle of the character with an orange over the Lighten layer. Add random spots of light here too.

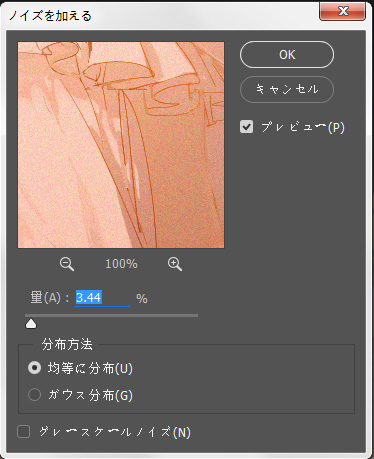
Lastly, select Filter -> Noise -> Add Noise, adjust it to be 2~4%, to give your illustration a better texture.

Complete!

With the powerful filters from Adobe Photoshop CC like the water texture and addition of noise, your work will be able to go a level higher, and these are functions you definitely want to have.


You can download Adobe Photoshop CC from here for a free trial.


Next, Rella tells us more about her use of Adobe Photoshop and her feelings towards her work!

Next Page : I aim for a final product even better that anything I can imagine. Create the 10% needed for the ideal final product with these tools
12

Newest articles tagged making-of

  • The Making of 13 Copic Drawings - A Lesson in Coloring

    The Making of 13 Copic Drawings - A Lesson in Coloring

  • The Making of 15 Watercolor and Colored Pencil Drawings - A Glimpse Behind the Scenes

    The Making of 15 Watercolor and Colored Pencil Drawings - A Glimpse Behind the Scenes

  • Animations of Works In Progress - Capturing the Creative Process

    Animations of Works In Progress - Capturing the Creative Process

  • 3 Tips to Achieve Smooth and Cute Colors Using Gradients and Water! - Behold the Power of Water-Based Markers!

    3 Tips to Achieve Smooth and Cute Colors Using Gradients and Water! - Behold the Power of Water-Based Markers!

If you liked making-of, you will also love...

  • 13 Drawing Coloring Tutorials - Thick Painting

    13 Drawing Coloring Tutorials - Thick Painting

  • A making-of & interview with Kitsune: painting fantastic worlds with Adobe Photoshop CC

    A making-of & interview with Kitsune: painting fantastic worlds with Adobe Photoshop CC

  • Interview with the artist “Wannyanpuu” and making of “Ugoira!” The particulars behind the creator’s craftsmanship.

    Interview with the artist “Wannyanpuu” and making of “Ugoira!” The particulars behind the creator’s craftsmanship.

  • How To Create Pixel Art GIFs? An Interview With Illustrator Yuuta Toyoi

    How To Create Pixel Art GIFs? An Interview With Illustrator Yuuta Toyoi

  • Grisaille Art Technique

    Grisaille Art Technique

Share this article
  • Share
  • Post
  • Share
  • Post

Tags:

  • interview
  • illustrator interviews
  • making-of
  • illustration material&software
Follow pixivision on Facebook!
Find us on X too!
Follow @pixivision
Stay updated with pixivision's daily features!

Newest articles tagged Behind the Art

  • The Making of 13 Copic Drawings - A Lesson in Coloring

    The Making of 13 Copic Drawings - A Lesson in Coloring

  • The Making of 15 Watercolor and Colored Pencil Drawings - A Glimpse Behind the Scenes

    The Making of 15 Watercolor and Colored Pencil Drawings - A Glimpse Behind the Scenes

  • Are you ready for Comiket? Useful Techniques For Your Event Booth

    Are you ready for Comiket? Useful Techniques For Your Event Booth

  • Wait a second! (Almost) Useless Tutorials

    Wait a second! (Almost) Useless Tutorials

View more▶︎

Follow pixivision's
official accounts!

p-chanMonthly Ranking
  • Illustrations

    Fan Art of Kisaki (Swimsuit) from B...

  • Illustrations

    Drawings of Patterned Bikinis - Pre...

  • Illustrations

    Drawings of Flared and Frilled Biki...

  • Illustrations

    Drawings of Upward Glances - Puppy-...

  • Illustrations

    Drawings of Falling and Floating - ...

p-chanFeatured
  • Illustrations

    Drawings of Side Ponytails - The Wi...

  • Illustrations

    Drawings Featuring Mock Necks and T...

  • Illustrations

    Drawings Featuring Thigh “Spillover...

  • Illustrations

    Fan Art of Cartethyia (Fleurdelys) ...

  • Illustrations

    Fan Art of Maomao and Jinshi From T...

Follow pixivision's
official accounts!

  • Top
  • About pixivision
  • Suggest a theme
  • English
  • 简体中文
  • 繁體中文
  • 한국어
  • ภาษาไทย
  • Bahasa Melayu
  • 日本語
  • pixivision
  • About pixiv Inc.
  • Terms of Use
  • Contact Us
  • Advertising
  • Privacy Policy
©pixiv